![Baking supplies for the beginner]() Is baking making? What category of craftsmanship does it really fall into, after all? I think the answers to these questions are, yes, and I don't care. Since I spend way too much of my everyday life sitting in front of a computer, moving invisible bytes around, baking is one of the easiest, fastest ways for me to get my hands dirty when I get home from work.
Is baking making? What category of craftsmanship does it really fall into, after all? I think the answers to these questions are, yes, and I don't care. Since I spend way too much of my everyday life sitting in front of a computer, moving invisible bytes around, baking is one of the easiest, fastest ways for me to get my hands dirty when I get home from work.
It's magical; actually. You take this stuff (usually wheat flour) that, by itself is bland and horrible and inedible, and you mix it with a little water, a little salt, and some heat, and suddenly you can achieve a ridiculous variety of breads. By tweaking the ratios just a bit, you can end up with totally different types of food. I know gluten is not on the popular list right now, but I'm holding fast: bread is the best.
Plus, baking and brewing are like Frog and Toad. Beer is, basically, liquid bread (specifically, seven slices, or something like that), right? So, if you like beer, it follows that you like bread ...
If you're not into baking yet, let me be the first to nudge you toward the oven. It's warm and tasty over there; you're going to love it.
The Basic Kit
1. A Porcelain-Enameled Dutch Oven
So-named because in the late 17th century, the Dutch developed the best method for mass-producing these cast-metal pots, the Dutch Oven has a very smooth (nearly non-stick) enamel surface and a tight-fitting lid. In my opinion, it's one of the most useful tools in any kitchen, and it's especially helpful for allowing novice bakers (like me) to create delicious, perfectly-crusty bread with a standard home oven. Check out my guide, "The No Bullshit Way to Make Your Own Bread" for a primer.
![]()
2. A Digital Kitchen Scale
Baking is about ratios. Too much water or too little flour, and you could be making a totally different kind of loaf. It's true that experienced bakers can get the proportions right just by feel, by touching the dough and relying on their senses to tell them if it needs to be drier or wetter. But for us beginners, a digital scale is the fastest, easiest way of getting consistent results. Plus, you'll use it for lots of other kitchen tasks.
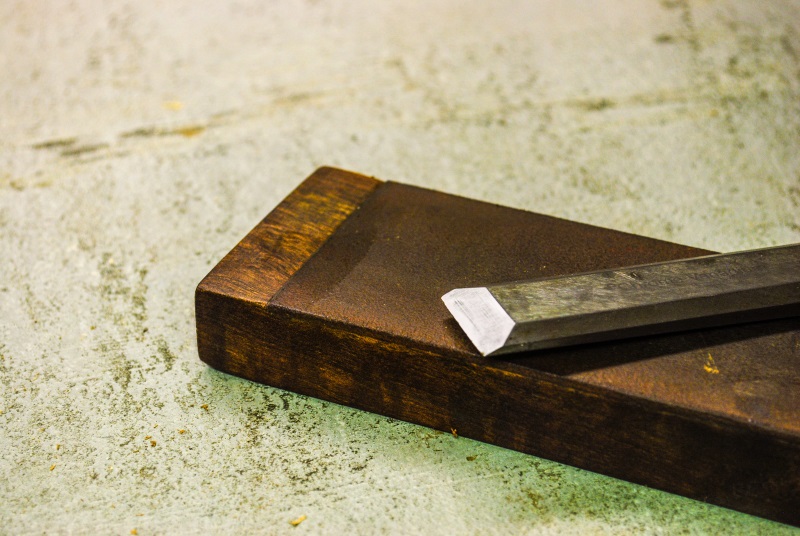
3. A good cutting board and bread knife
![]()
A great cutting board isn't that hard to come by; you make your own without too much trouble (here, here, and here). But it makes the experience of serving, cutting and eating good bread just a little bit ... gooder. A great cutting board (for bread) should be made of a wood like maple, teak, beech or walnut (not too hard, though ... or it's hard on your knives). A nice heavy board also give you a more balanced, stable surface to cut on.
A good bread knife should have a high-carbon stainless steel serrated blade, and it needs to be pretty long (about 9-10 inche) to let you slice all the way through large loaves. I like pointed serrations (as opposed to scalloped) because the points grip into the crust on contact and let you start cutting from the start (avoiding dreaded loaf-squishing).
4. A large glass mixing bowl
Don't try to mix up your dough in a bowl that's too small for the task. This is one of my pet peeves. Mixing in small containers always results in a mess, and (I think) an unevenly-mixed dough. Use a salad bowl if you must, but find something big to mix in. I prefer glass, because I think metal bowls are weird and react with my food, leaving an odd taste. But maybe I'm just crazy. Anyway...
![]()
More Advanced Tools
If you're going to move beyond the basics, here are some of the tools I'd recommend. These aren't totally necessary, but they can make your life a little easier, especially if you start to ramp up your bread production.
1. Stand Mixer
As soon as you get into cakes, cookies, or quick-breads, you're going to want one of these. They're not cheap, exactly, so maybe wait around for a good deal, or put one on your next holiday wish list. But a stand mixer is incredibly versatile, and can help you produce nice, evenly-hydrated dough in larger amounts, and in less time.
2. An oven thermometer
My oven doesn't have a thermometer built in. If yours does, I can pretty much guarantee you it's inaccurate. For less than the cost of a large latte, you can get a decent thermometer that will tell you what temperature you're actually baking your bread at! Just like proportions, in baking, temperature matters. Get one of these and your breads, pizzas, and cookies will start coming out more consistently, I promise.
![]() 3. A Pizza Peel
3. A Pizza Peel
If you decide to try baking on the grill (or making pizza there), or find a bread baking method you like better than the Dutch Oven technique, a pizza peel will likely come in handy. Even if you don't, it's a really nice way to serve up a fresh loaf of bread of a piping hot pizza. And for around $15, it's not a big investment. I think you'll like having one.
4. A big cast iron skillet
When you need a break from eating delicious home-baked bread, you can switch over to eating delicious home-baked pizza. I've been using the reverse-broiler method described here for (holy crap) seven years, and I have yet to find any reason to deviate from it. It starts with basically the same process as you'll use for bread (so all the bread baking equipment still applies) and then you assemble and bake the pizza in a heavy, cast-iron skillet. It's so good I think I'm going to stop writing this post right now and go make/eat some...
... okay I'm back. Here's a good one to buy:
(Note: this thing is kind of pricey and heavy at 15". You'll probably only end up using it for pizza, so it's not exactly a versatile tool. But I strongly recommend against trying to make good pizza in a smaller pan. You'll crowd the dough and end up with a worse result.)
5. A bench scraper
So inexpensive. So useful. I don't know why they don't just include these with the kitchen when they build them, frankly. Great for splitting dough, scraping up leftover bits, cleaning off cutting boards, and generally appearing to be a better baker than you actually are.
6. Proofing/storage containers
When your dough is rising, you want it to maintain an even temperature and humidity. While you can certainly get by with a big mixing bowl tightly-covered with plastic wrap, these plastic proofing containers are made just for that. They're transparent, with vertical sides, and marked on the outside, so you can see exactly how much your little dough-baby has grown. When a recipe asks you to let your dough rise until it has doubled in size, you'll have no problem checking on it. I like these Cambro 6-quart containers because they're, frankly, huge, nest inside each other, and seal up really tight.


 Laura and Craig from
  They knew they didn't want to remove any of the hundred year old crown molding and they knew that almost nothing in their house was level, so this entire unit has been built around it all for relatively easy removal.
 And voila! In particular I'm a super fan of the sliding ladder, which immediately ups the impression of the entire room.


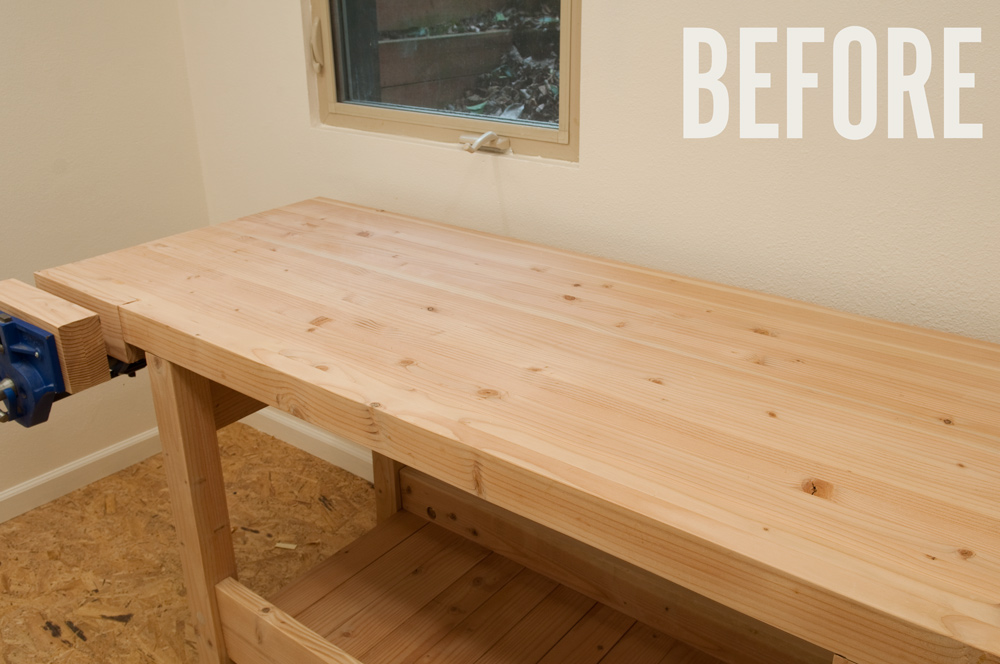
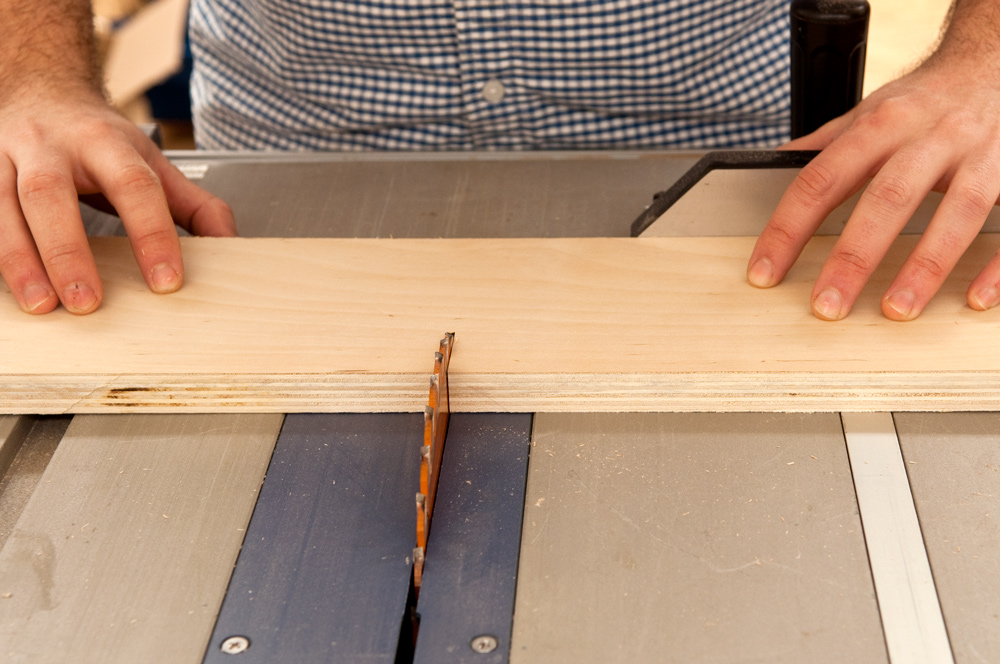
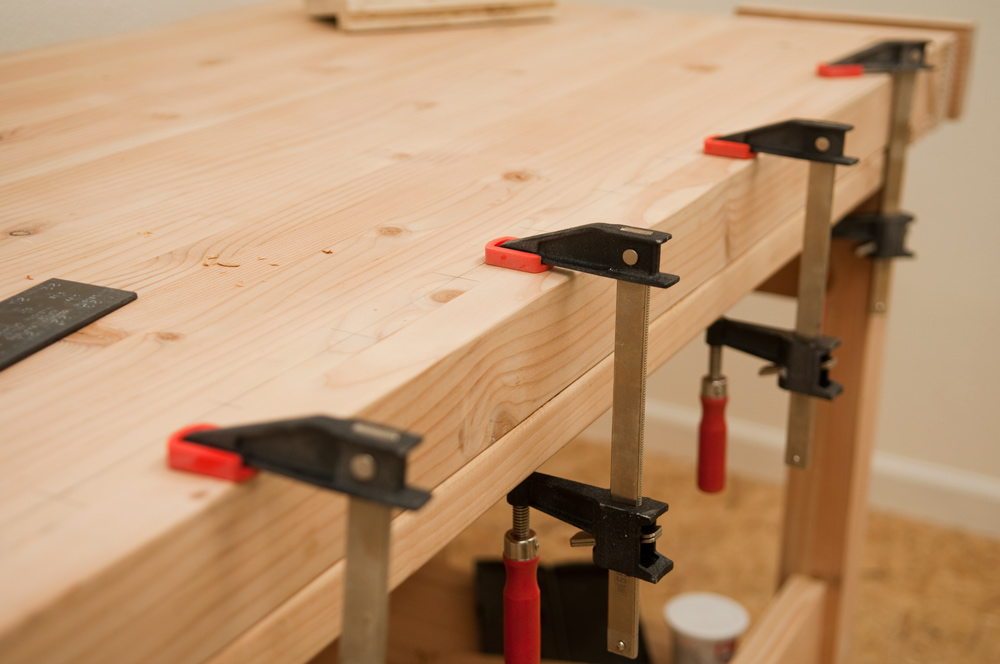
 A few weeks back we talked about some of t


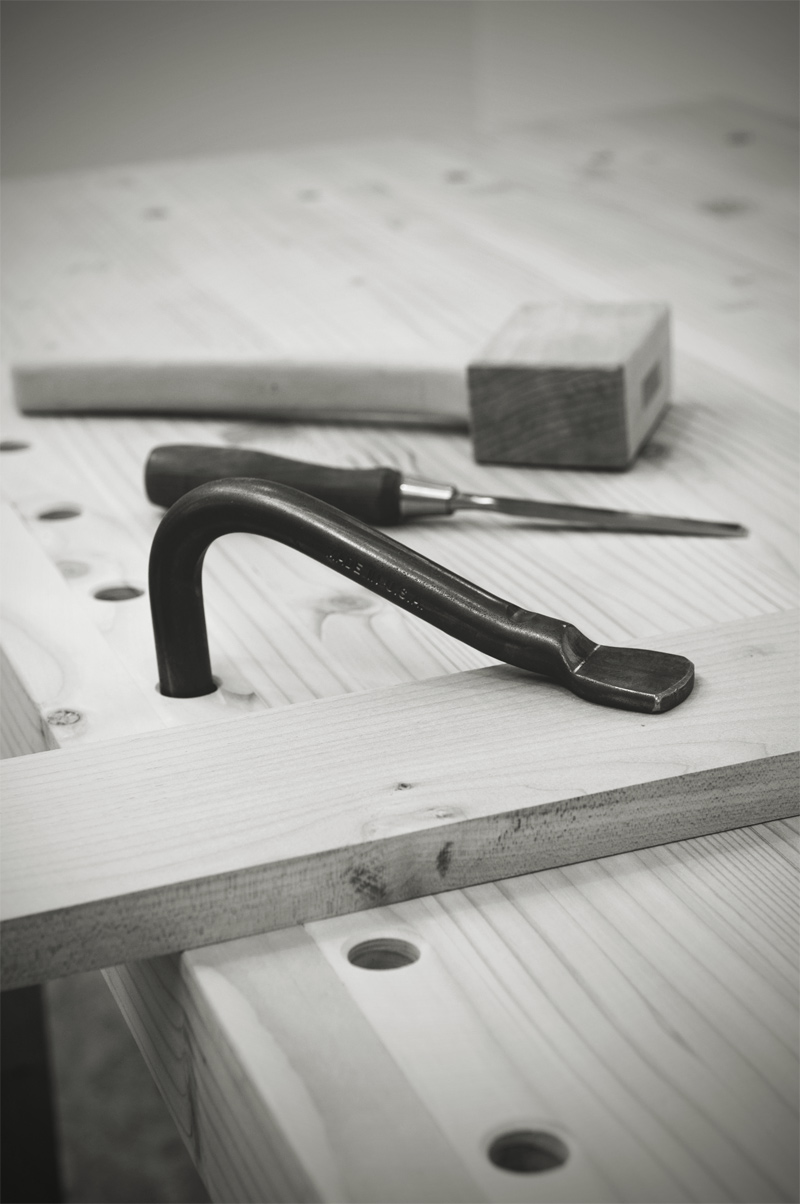
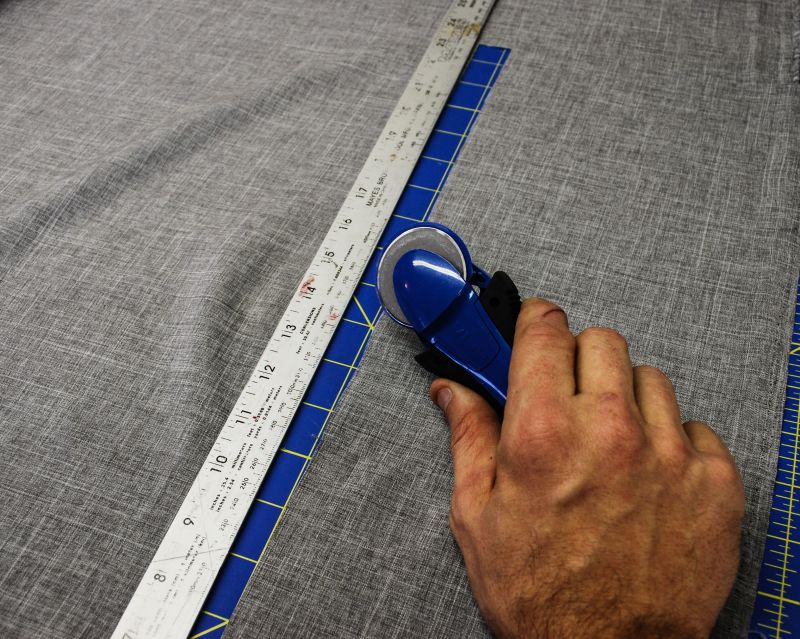
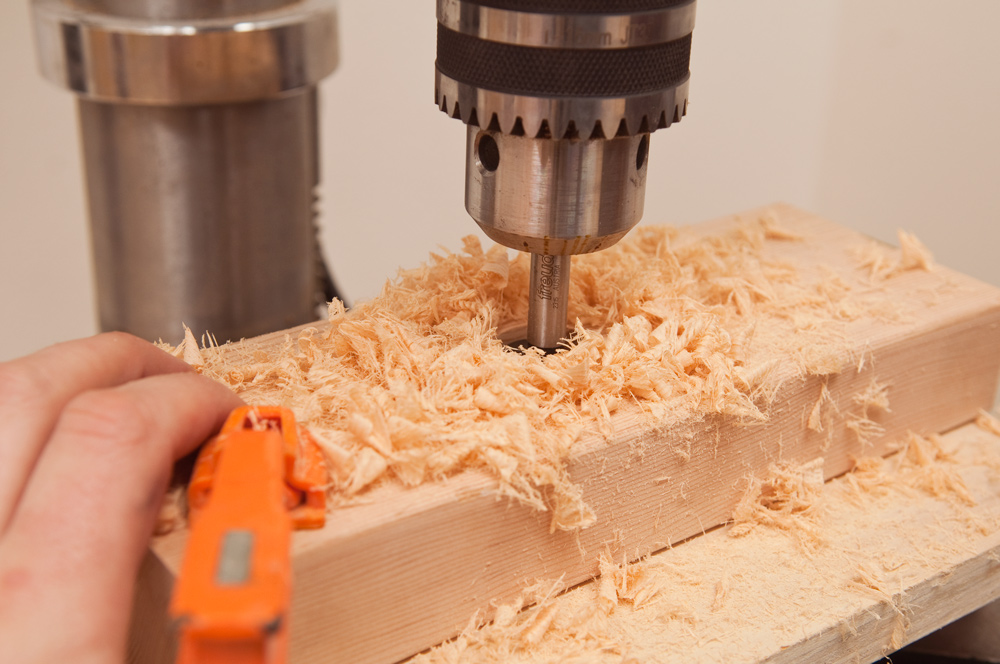
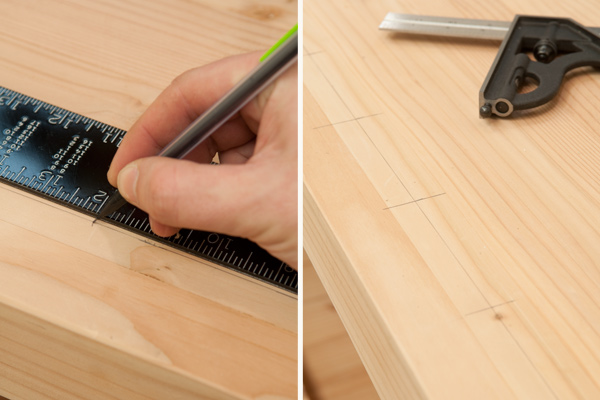
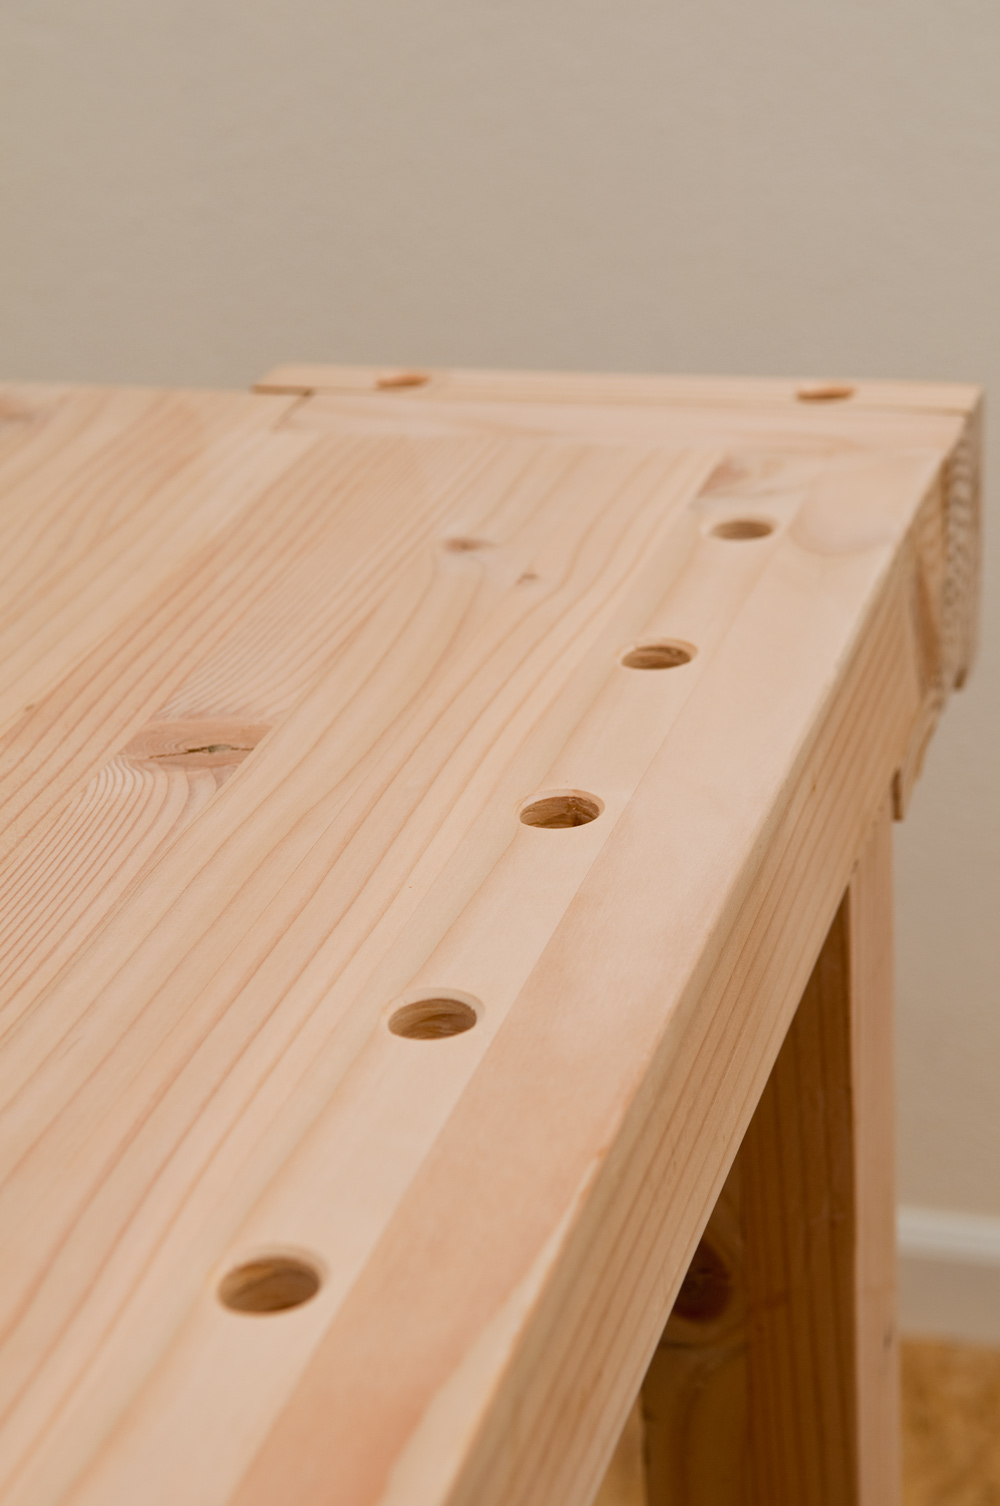
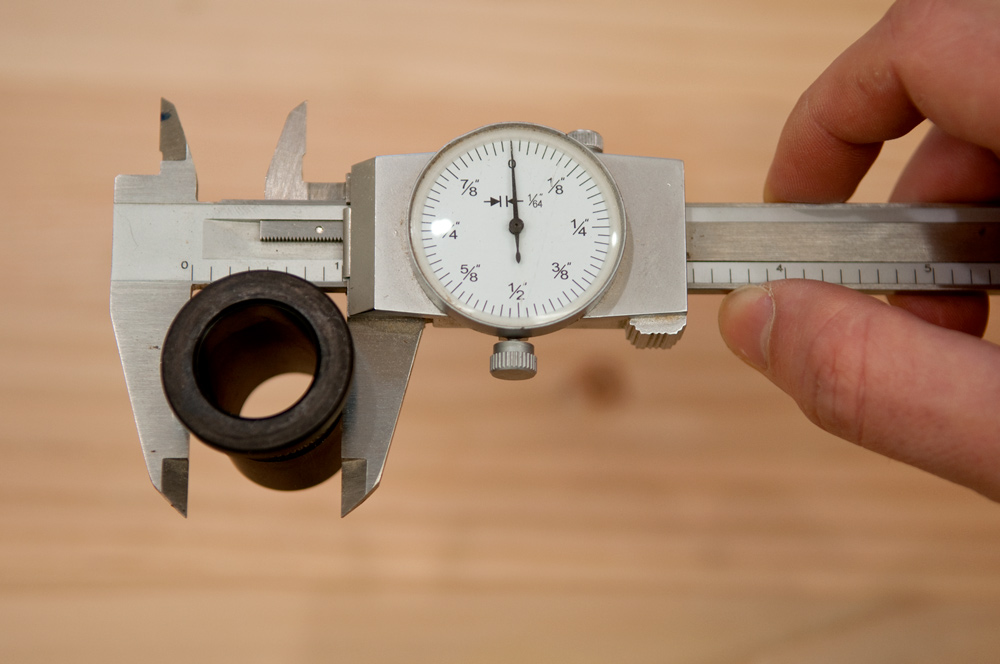 My approach takes advantage of this ingenious little helper -
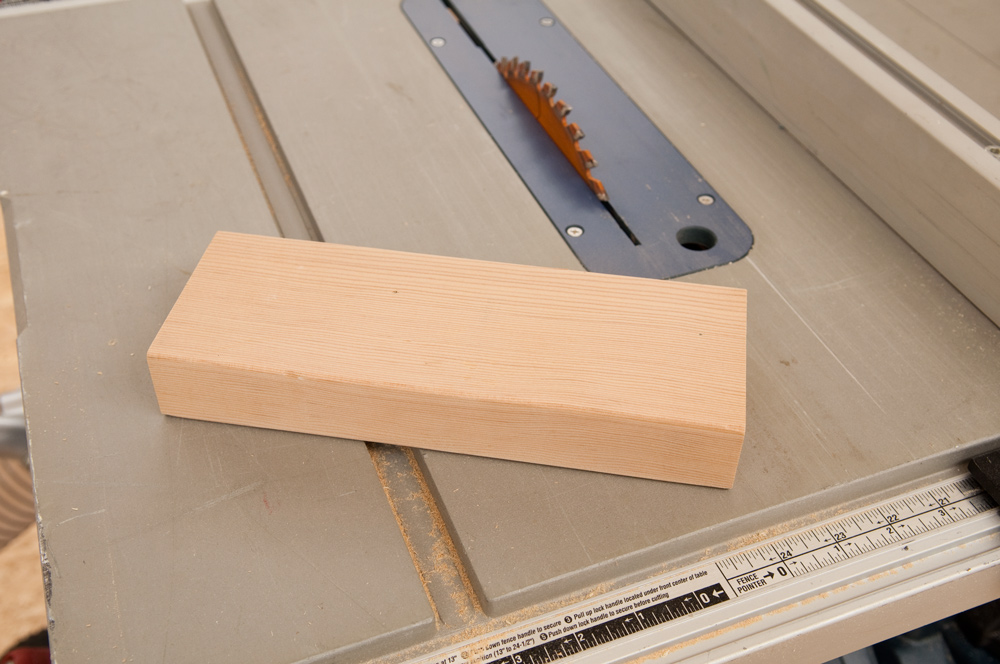
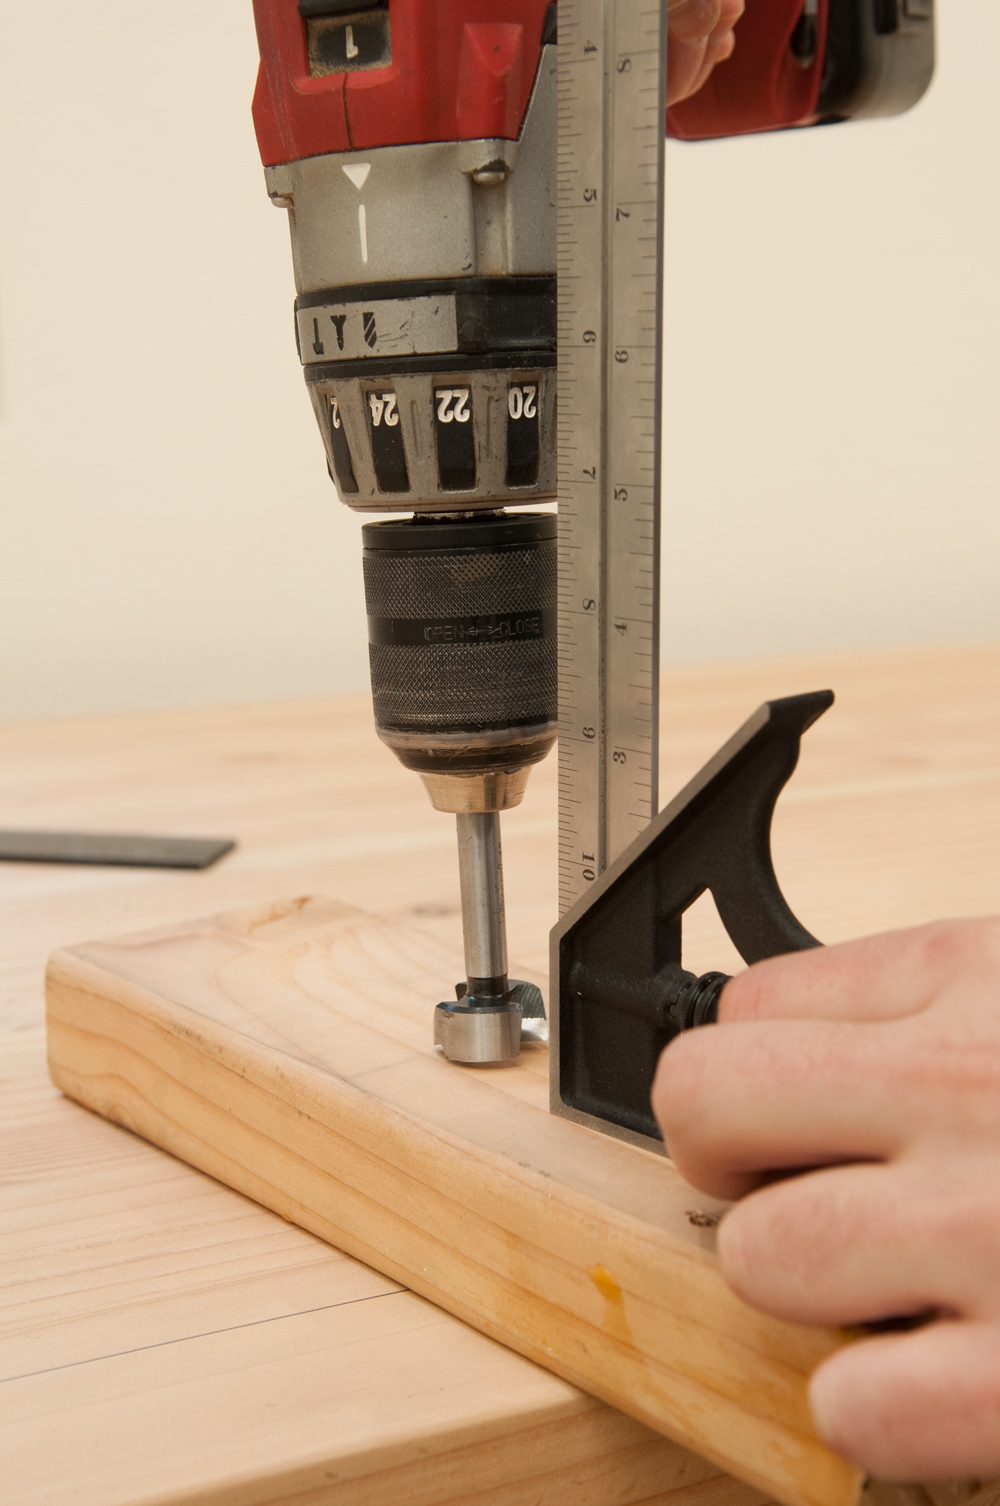
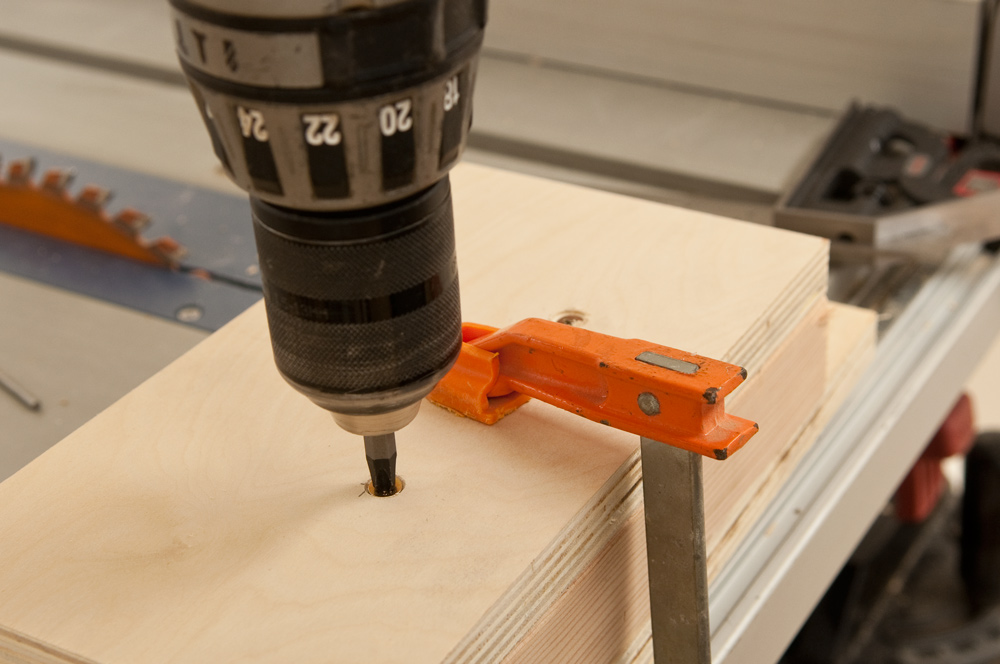
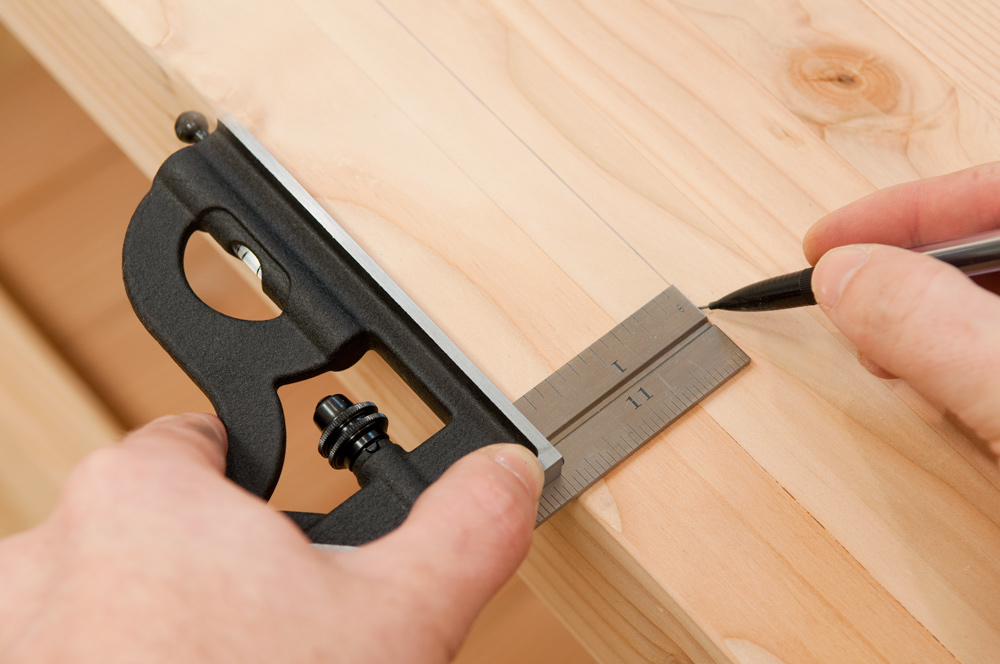
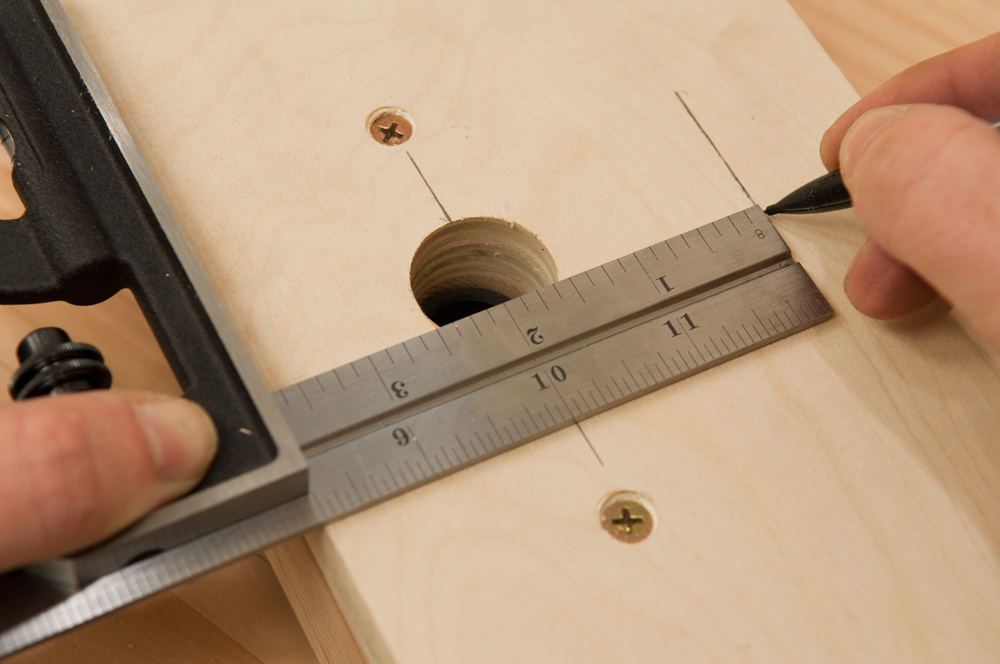 With that established, mark a line 2" (or whatever you choose), from the center of the guide hole...
 Anyone who loves hiking or outdoor exploration is familiar with the cairn, that characteristic stacks of rocks used as a trailmarker, warning a steep overhang, or just a general, leave-just-a-little trace that someone was here. At first, each cairn is a little discovery, a naturalist's work of art that puts design and intentional experience into the landscape. And then you see them multiple times on every. single. trek. you take, and your eyes just gloss over them after awhile. (Unless you're lost. They're always welcome when you're lost.)


/http://s3.amazonaws.com/manmadediy-uploads-production/photos/4415/diyfingerprintfeature.jpg)
 Is baking making? What category of craftsmanship does it really fall into, after all? I think the answers to these questions are, yes, and I don't care. Since I spend way too much of my everyday life sitting in front of a computer, moving invisible bytes around, baking is one of the easiest, fastest ways for me to get my hands dirty when I get home from work.


 3. A Pizza Peel
 6. Don't Wear Sneakers. Even if you're wearing casual/dressy-casual clothing, at least go the extra bit to wear a dressier belt and shoes. It'll make you feel like you're doing something different, and that'll inform the mood of the date as something special. I promise.