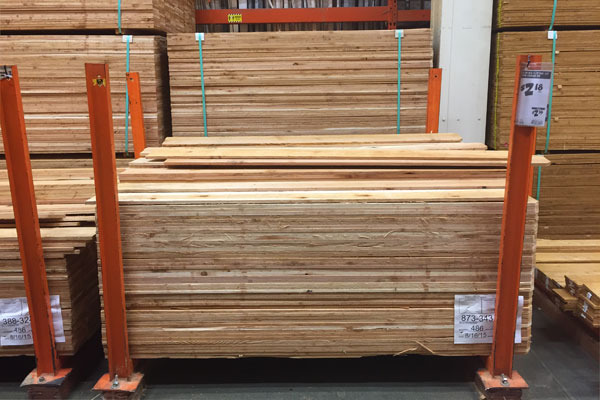
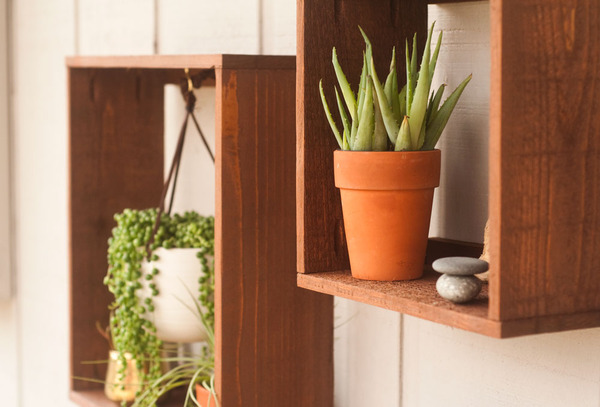
 There are plenty of shelves in my shop that need doors to keep out the dust, and to keep the look of the shop more streamlined. These cheap doors are made from 2.5" pine boards and affordable 1/4" plywood. They still look great and function well, and they have enough heft to feel strong in your hand.
Keep in mind, cheap wood can be hard to work with thanks to chipping, splitting, and warping, so choose nice straight boards that have been dried long enough to stay stable.
Here are the steps I took to make my affordable shop doors:
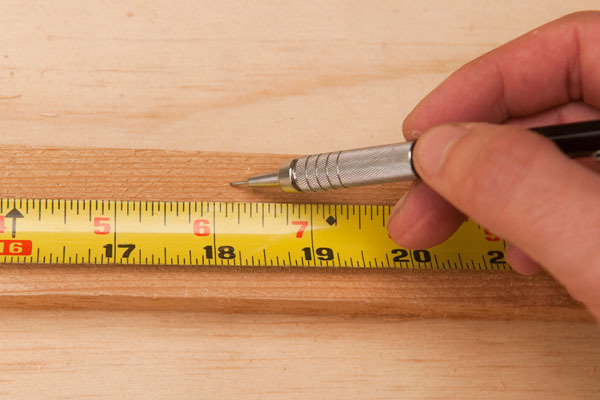
 1. Measure them out - the doors should overhang the openings by about 1/2" on the outside edges and the top and bottom. This means you should measure the door openings, and add 1" for the top measurement and 1/2" for the hinge side of the doors.
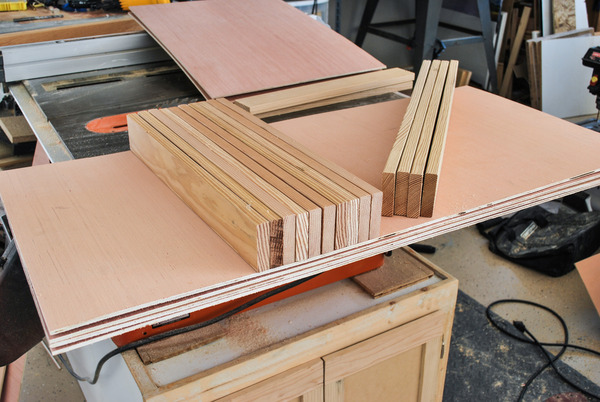
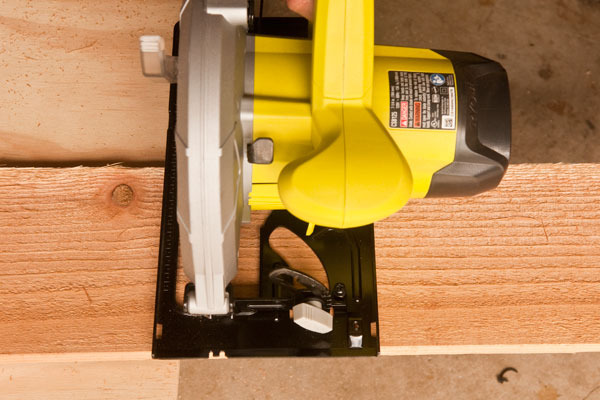
2. Cut the backing board - These doors have a thin 1/4" backing board, with a frame over the top, and a thin strip on all sides to clean up the final appearance. To start, cut the backing board to size.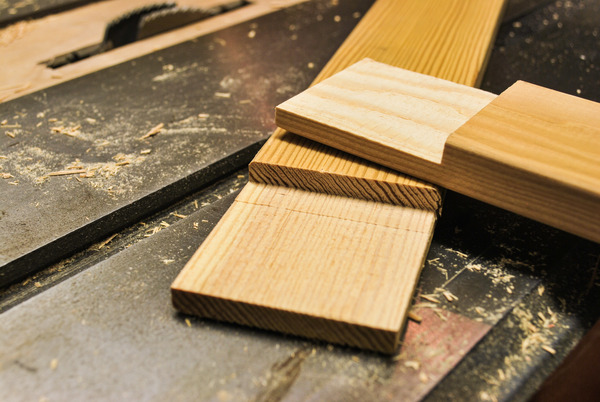
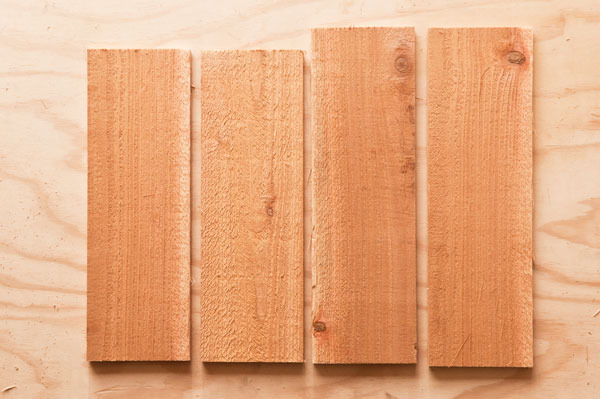
3. Cut the frame - The frame over the top is made from rails and stiles with half lap joints cut on the dado. This joint is strong and adds substantial gluing surface to make sure it stays strong and square.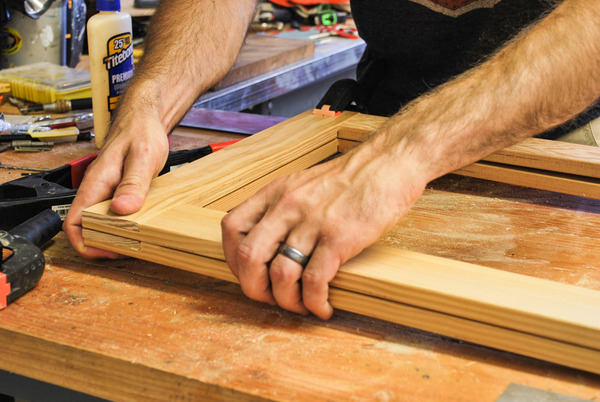
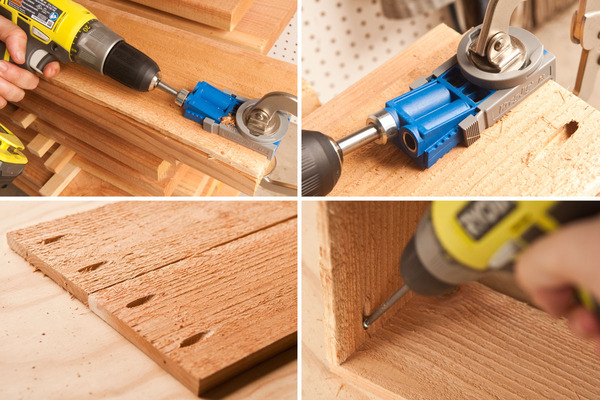
4. Glue and clamp the frames - The frame pieces should match up nicely and should stay squared while clamping. Add glue and clamp overnight.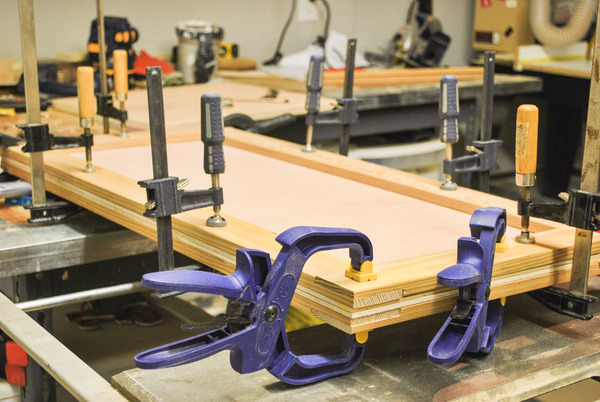
5. Glue the frames to the backing board - Apply a layer of glue around the edge of the frame on the inside and outside of the surface to be glued. Clamp evenly to make sure it is evenly applied. This took 3 clamps per side to make sure it was well glued.
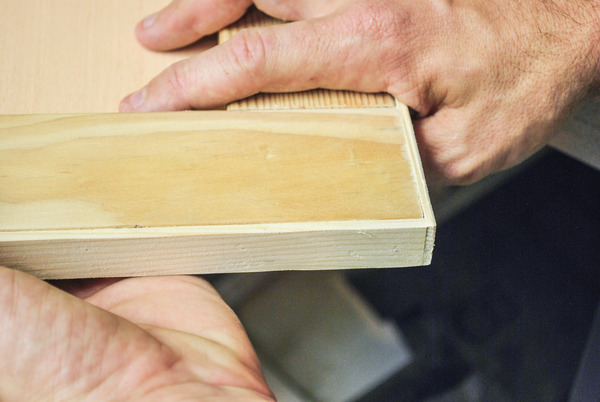
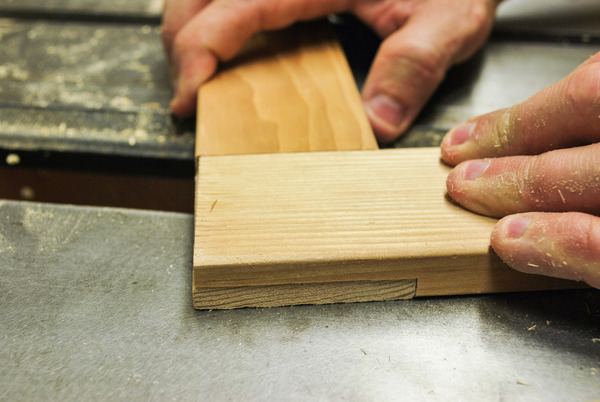
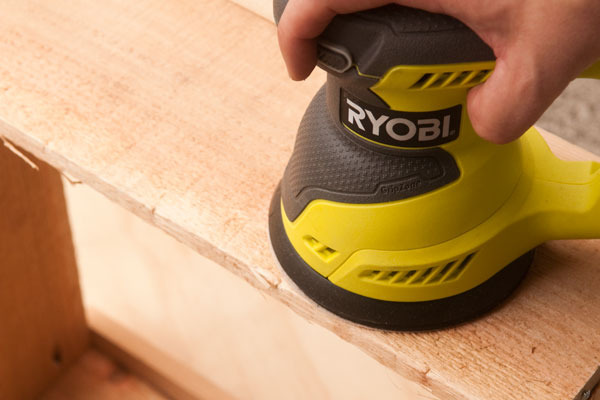
6. Clean it up - Take just a small portion of each side off with the table saw to make sure it is square and smooth for the final thin strips, then apply the thin cover strips - The last step is to apply the thin strips along the outer edge for a clean finished look. this step is not necessary if you are fine with the exposed joinery, but they do add a nice element to the finished doors.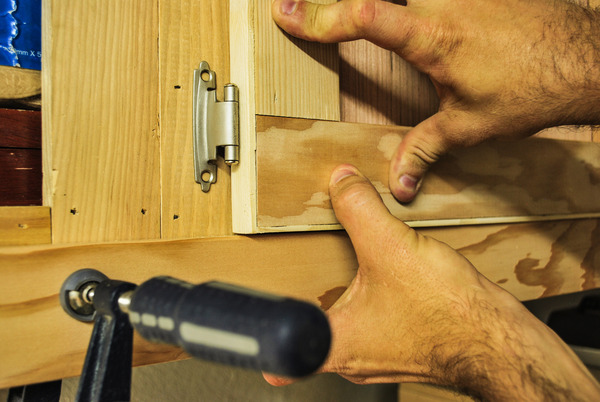
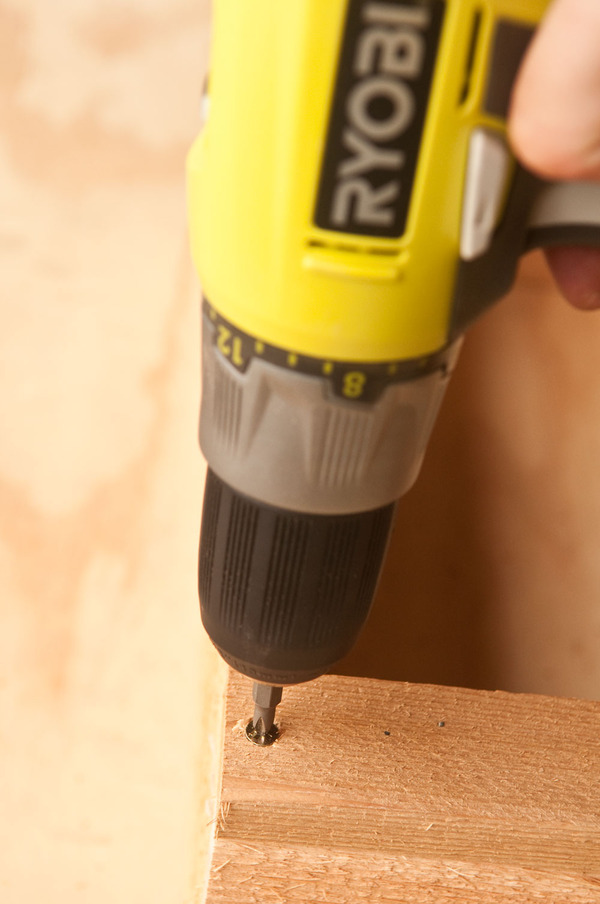
7. Install hinges and hang - Once the doors are complete, finish as you like and install hinges. I like these hinges from Amazon, but there are plenty of choices.
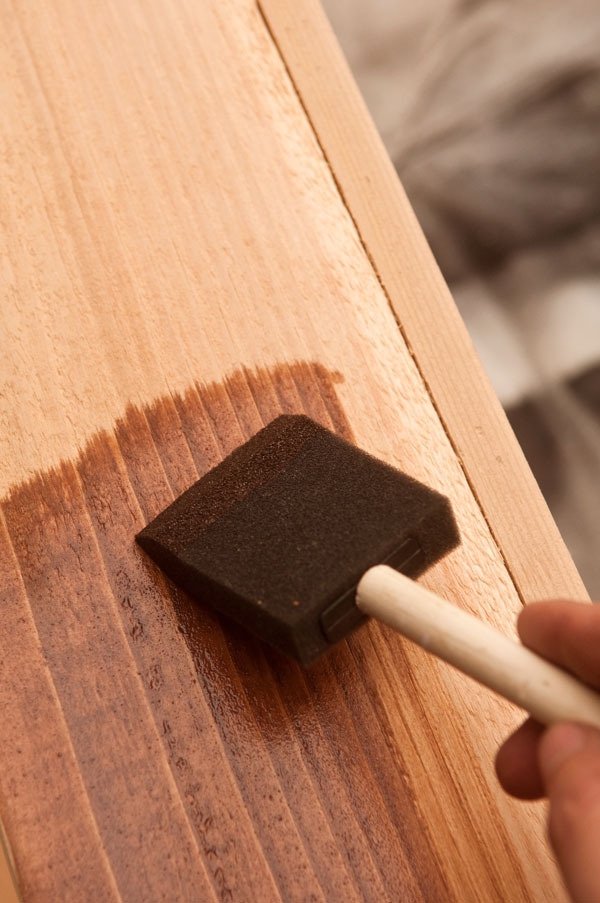
Since I will be making more of these for the bottom cabinets, I will keep them natural finish for now, but some finish should be applied to keep them from absorbing too much moisture during seasonal changes which will keep the movement of the doors to a minimum.
Now that the doors are getting installed, the next step will be to move onto the rolling tool island that will hold my planer, bandsaw, jigsaw, grinder, and maybe something else. It's a big build that will take a bit of time to get right, and I may have a vacation week stuck in there somewhere, but stay tuned for that update within the next 3 weeks or so!


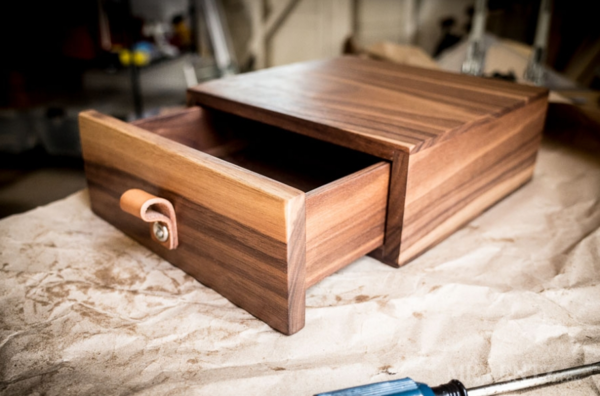
 Furniture made from pallets is always awesome in theory but I've definitely sat on some rickety and scratchy attempts that never really turned out the right way. So with that out of the way, I'll say that it looks nearly impossible to go wrong with this one. It's simple, sturdy, and has a limited number of steps.
  The tutorial comes from


 Bole Tannery


 Need to make something flat and smooth? This Bridge Planer will get smooth, even results on pieces too wide to fit through your normal planer. This router bridge is a simple design and Matthew Cremona goes through a great overview of how it works and how to make your own if you happen to have a board that needs to be uniformly flattened. Take a look at his video and file it under "when I need this I'll be able to do it".
 Living in Los Angeles, I spend and unbelievable amount of time in my car everyday, so I have an intense appreciation for the conveniences that every man should have on the go. Some are truly life-saving and some just feel life-saving, but here's an infographic from


 [https://www.flickr.com/photos/jypsygen/4076111409/in/photolist-7dc8UV-e7tSvz-4zJ9gh-4zJcdA-Wv93m-cbMbay-7buLWy-4QfKVp-3WWSHK-d9RSjo-3WWPG8-3X266y-bDyGi4-4zJa1L-fLAD4w-azcwWa-ehNXnK-39t3TR-4TpqDB-o6Q8dG-4TtCWN-o8THn4-9JAtNn-mtuDyT-h46Ae-eMh7bN-4zJbXU-4zDUP2-4zJ9Bf-otqSgz-4zJdWb-rokBb-6i9d32-6idnfh-5RzYVt-8j72ra-7qbbUK-8oFfzu-d9RRZL-d9RQVz-d9RReV-4ep5ue-cS3ySm-ozVaqJ-o6Q9gd-3wmor1-5kLce9-cuXMuQ-5cJ8f4-5cHB4P]")
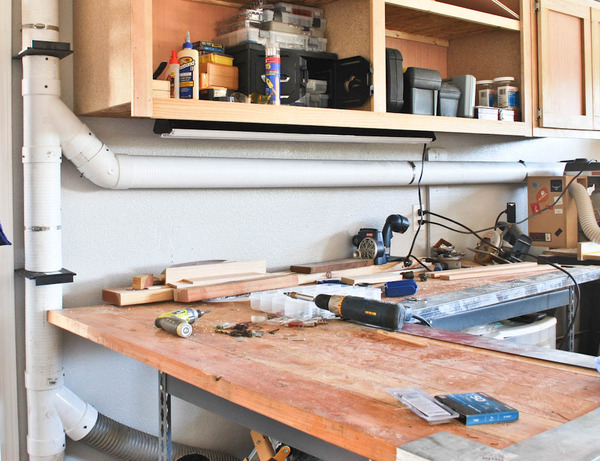
 While it won't collect every bit of the sawdust, the substantial reduction makes life so much easier. Once the system is lined in and working right, expect a cleaner shop, healthier lungs, and a happier family.
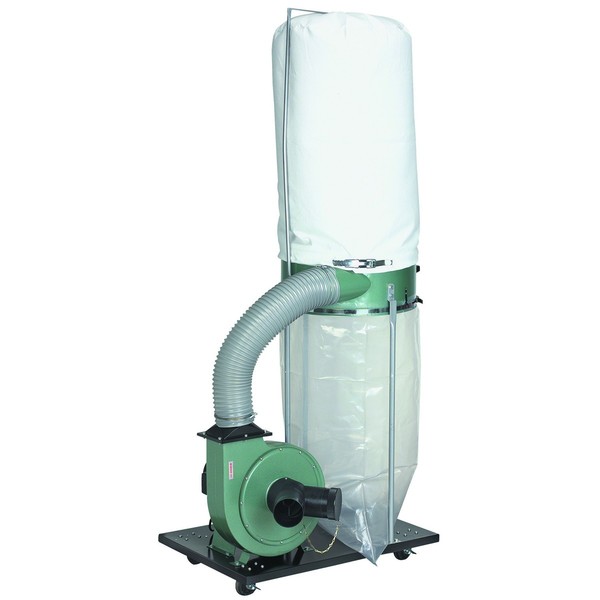
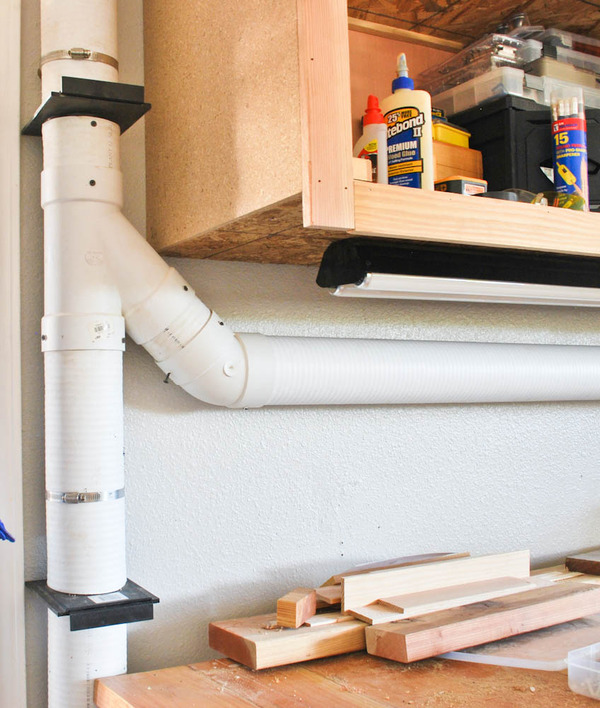
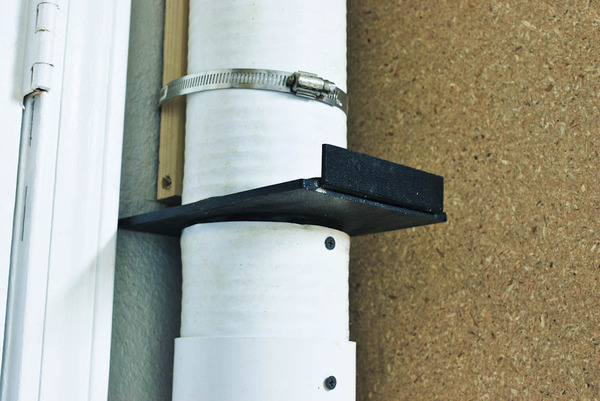
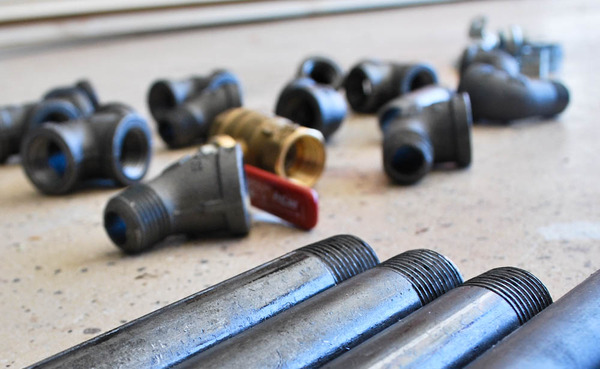
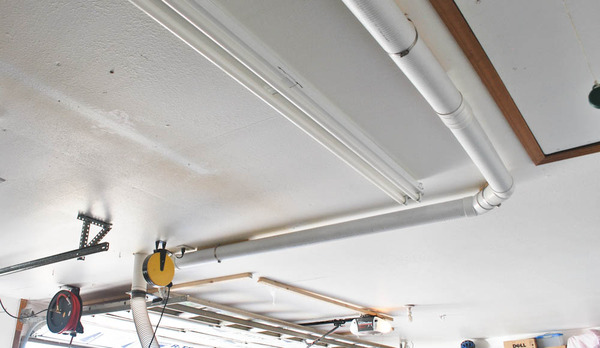 Ducting-
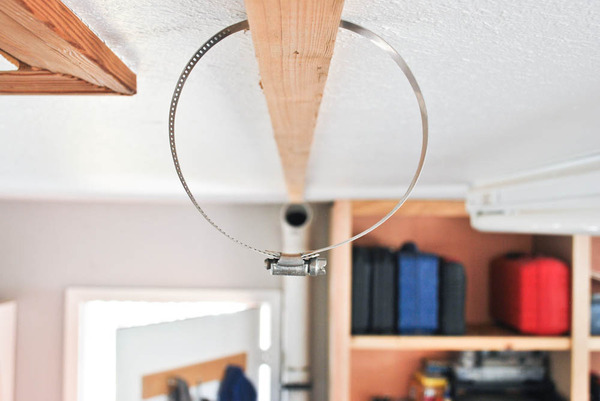
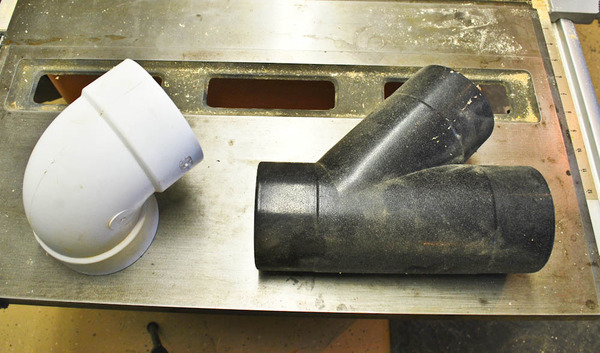 Connectors -
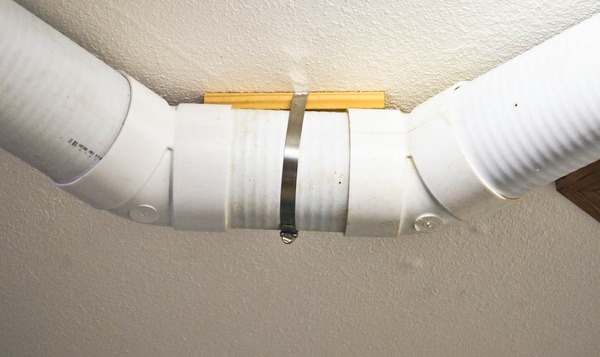
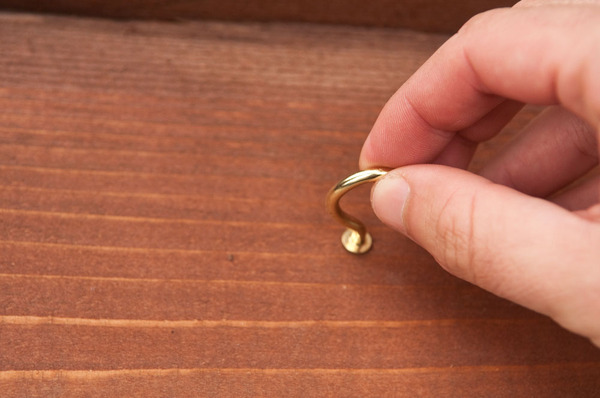
 I've always been a sucker for rustic decor, and the tasteful ambiance provided by lanterns are solidly in that category. However, if you opt for a lantern in your interior (or exterior) design, it really ought to be functional (and therefore probably electric) but still keeping the charm of the flickering, homey light. Enter this design from "dtt900653"
 Designed by an electrical engineer who was hoping to liven up his backyard, these instructions not only show you how to build the lantern, but how to rig multiple lanterns to function individually.

_large.jpg?1441677462 "Credit: ManMade DIY")
_large.jpg?1441676033 "credit: ManMade DIY")

_large.jpg?1441676358 "credit: ManMade DIY")
_large.jpg?1441676410 "Credit: ManMade DIY")
_large.jpg?1441676547 "Credit: ManMade DIY")
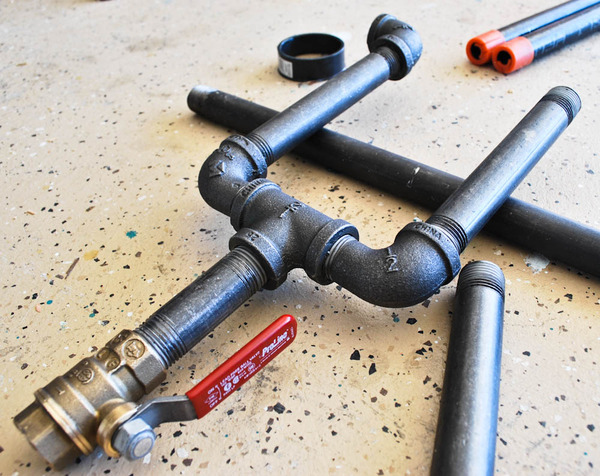
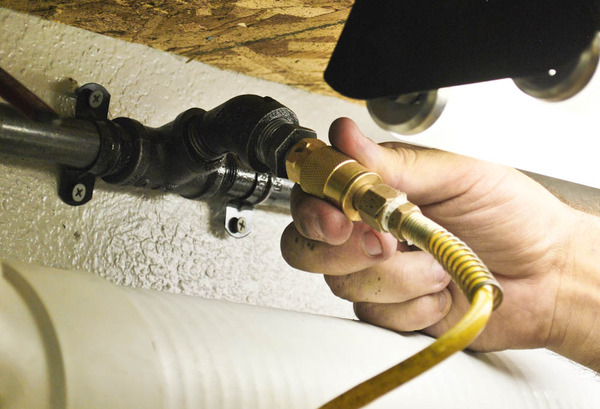
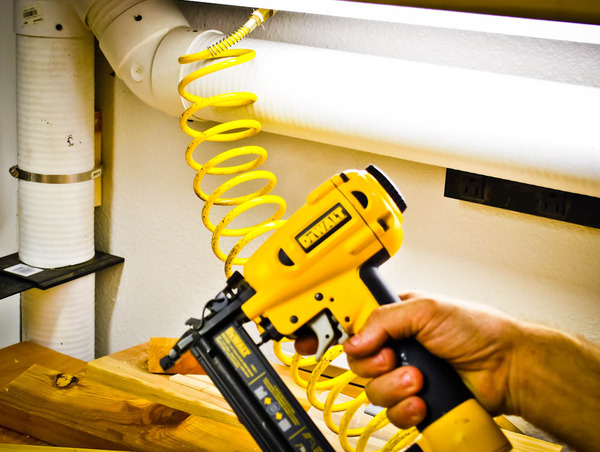
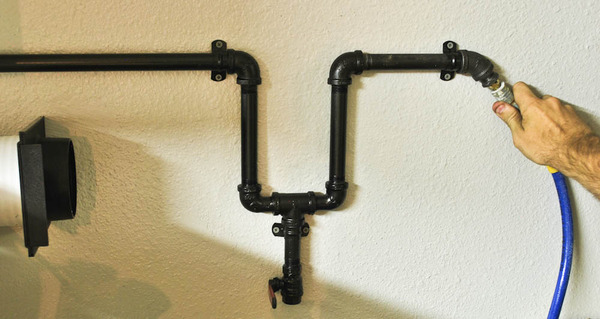 Working in my small shop, I've tripped over my air hoses countless times. And many times an air hose has snagged on something a pulled a tool off the work bench (dangerous!). That ends today with wall-mounted air lines. Adding hard-lined air compressor lines in the shop eliminates the need to stretch air hoses across the room, reduces set-up time, and eliminates a tripping hazard. There are a few options on materials, set-up, and design; but there are also some hard and fast rules to never follow when installing a system:
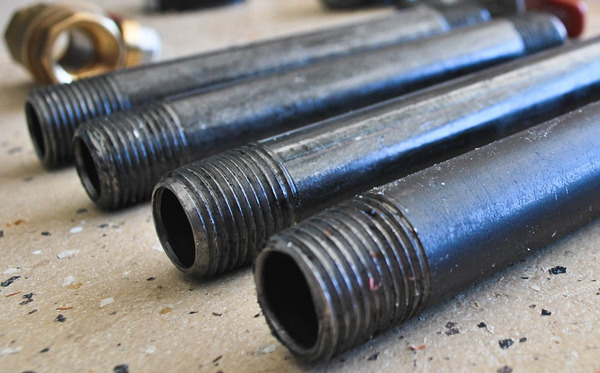
 This is the most informative collection of men's fashion terms and history that I've found on the internet so far. Each fashion icon comes with some quick facts (Corduroy gets its name from the French "cord du roi" or the cord of the king, and has been around since ancient Egypt), but then each item breaks out into an extensive history if you click on it. And all this comes from GQ, so you know they know what they're talking about.
 I always like to hear from other craftsmen about how they came into wood working, and their approach to the projects as they go. It’s always interesting to read or hear about what compels us to make, to create, to bring life to a pile of raw materials. Here’s a short video about a company called Adventure Indoors who talk about their business of reclaiming wood and repurposing it into something more. Take a look at how they approach their passion, and what motivates them to create.
  Interested in starting down the road of metalworking but not sure where to start? Try this project to make a knife from a sawblade to get your hands a bit dirty. Carrying something on the belt that came out your own shop is a huge symbol of pride for most makers. It’s the physical manifestation of a skill, and the demonstration of a job completely well done. A custom knife is a great project that gives a solid excuse to build up a few nice side projects at the same time, like
 I love coffee and I love whiskey, and here's the perfect recipe to combine them both in a drink with a history as rich and manly as its taste. Irish coffee as we know it was originally conceived by Joe Sheridan, the head chef at what later came to be Shannon International Airport in west Ireland. A flying-boat-full of American passengers disembarked after a particularly rough storm on a cold winter evening in the 1940's and Sheridan spiked their coffees with whiskey and some other ingredients to warm them up as fast as possible. When the passengers noticed the difference, they asked if they were drinking Brazilian coffee but were told instead that what they were drinking was "Irish coffee."
 The dream of driving a flying car is something most of us associate with the Jetsons or Star Wars, but in reality their conceptions begin way way back. In fact, William Samuel Henson and John Stringfellow patented the flying car design seen above in 1841.. over 60 years before human flight was possible.
  Since then, designers have worked tirelessly to come up with a mode from private air travel that the common man can utilize, and now Popular Mechanics has provided the world with
  The series was inspired by


