Jesus taught in parables, and Polonius advised his king "by indirections to find directions out." One of the best things about revisiting classic sports movies as an adult is suddenly realizing all the incredible themes and lessons that were way over your head as a boy, but you likely absorbed through osmosis. Whether you’ve never seen these films or can practically do them as a one-man show, here are seven classic movies about sports that are really about something else…
Field of Dreams: Fatherhood
“If you build it, he will come,” says a mysterious voice on the wind to Iowa farmer, Ray Kinsella (Kevin Costner). What follows is an iconic saga of family and Americana as Ray transforms his cornfield into a fully functional baseball field in the conscious hope that it’ll bring Shoeless Joe Jackson back from the dead. Under the surface though lies a heartwarming and heartbreaking tale of a modern man’s struggle to understand adulthood and connect with the dreams of his lost father and the simultaneous idealism and compromise of his father’s generation. The movie unfolds like a pastoral fable and never ceases to bring the tears a-flowin’.
Remember The Titans: Racism/Acceptance (duh)
Nothing pastoral here. It’s grit and racism in this small town true story of 1971 and the undefeated high school football team that fought each game to overcome the hatred surrounding their recently integrated high school. This one is pretty obviously about something besides simply winning the championship, but it set the bar for modern sports movies by overtly taking a thematic stand on something greater than football. If you were alive if 00’s, you must have seen this movie and would recognize the majority of the high school players for their now-famous careers (Ryan Gosling, Wood Harris, Donald Faison, Kate Bosworth, Hayden Panettiere).
Bull Durham: Manhood
What begins as a story about the “religion of baseball” unfolds to be a tale about manhood in this unique romantic film. Kevin Costner stars (yet again) as veteran catcher Crash Davis who’s been hired to mentor hotshot pitching prodigy Nuke LaLoosh (Tim Robbins) and help mold him into major league material. In the meantime there’s a fantastic love triangle thanks to Susan Sarandon that makes this film a great one to share with a lady. Perhaps the most memorable scene is Crash’s speech to Susan Sarandon about what he believes in (and thereby what kind of man he is), although I also think this sceneis a great second place as well.
The Natural: Integrity
Based on Bernard Malamud’s 1952 novel (albeit with a markedly different ending), The Natural tells the romanticized tale of Roy Hobbs (Robert Redford) on his interrupted quest to become “the best there ever was.” Generally considered to be the best baseball film of all time, the film is an American tale of one man’s struggle to stay true to his dream for himself despite stacked odds and being surrounded by soul-corrupting evils. It’s exciting to watch an Hobbs’ perspective through the movie as it’s rare to see a character with such thorough self-knowledge. Also needing to be mentioned is the films spectacular cinematography (by Zooey Deschanel’s father) and an Aaron Copland-esque score by Randy Newman. I envy people who get to see this movie for the first time for all of its feel-good sports moments.
[N.B. I’m a firm believer in viewing the original cut of the film since the Director’s Cut includes flashbacks/forwards that take away from the power of one of the film’s most jarring and shocking scenes. Trust me.]
Rudy: Perseverance
Rudy tells the true story of Daniel “Rudy” Ruettiger, a hopelessly small and talentless young man who dreams of playing football for Notre Dame. Throughout the film you watch Rudy face setback after setback, as he struggles to keep the faith alive to achieve the impossible for himself. Aside from stirring montages and one of the most emotionally fulfilling third act payoffs, one of the best scenes features this confrontational speech from Rudy’s janitorial boss played by Charles S. Dutton.
Rocky: Resilience
In contrast to Rudy’s moral of perseverance, Rocky is much more about resilience – simply working hard enough and having enough guts to stand tall at the end of a truly impossible fight. When a down-and-out nobody is given an impossible shot at the boxing heavyweight championship of the world, Rocky Balboa knows he doesn’t stand a chance. Nevertheless, he brings the heart one could hope for in this stirring story of resilience. It takes guts to make a film in which the hero doesn’t win, and it’s all the more charming when you know that Sylvester Stallone wrote this Best Picture winner that later spawned 5 sequels with a new spinoff just about to begin production.
Hoosiers: Redemption
It’s been said that there are only two types of stories in the world: a hero goes on a journey, and a stranger comes to town. I can’t think of a more emblematic film for the latter sentiment than David Anspaugh’s 1988 film Hoosiers. Everything changes for the lone town of Hickory, Indiana when a blunt coach (the stellar Gene Hackman) with a mysterious past tries to lead the high school team to the state finals in 1954. The tale (loosely based on a true story) tells an uplifting story exemplifying the importance of fundamentals in everything while also asking important questions about manhood. Can you escape your past? Can a lost man be redeemed? How much good can a flawed man still do? Not to be missed is one of the all time best performances by Dennis Hopper as the town drunk and father of one of the starting players.
[I’ve now wasted so much time re-watching clips from every film for this article. I regret nothing.]


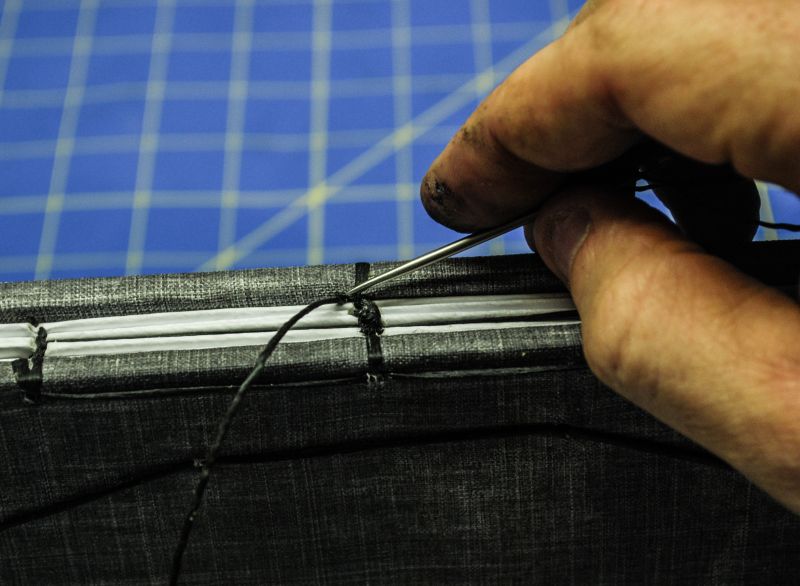
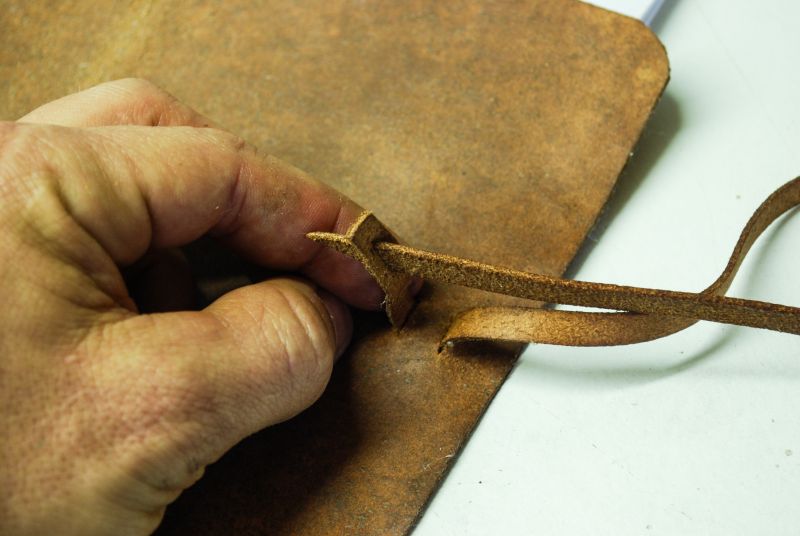
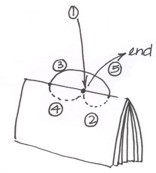
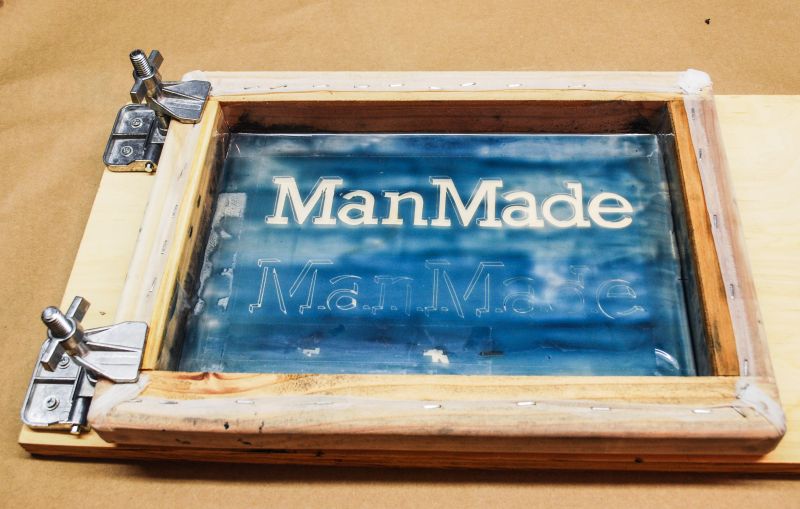
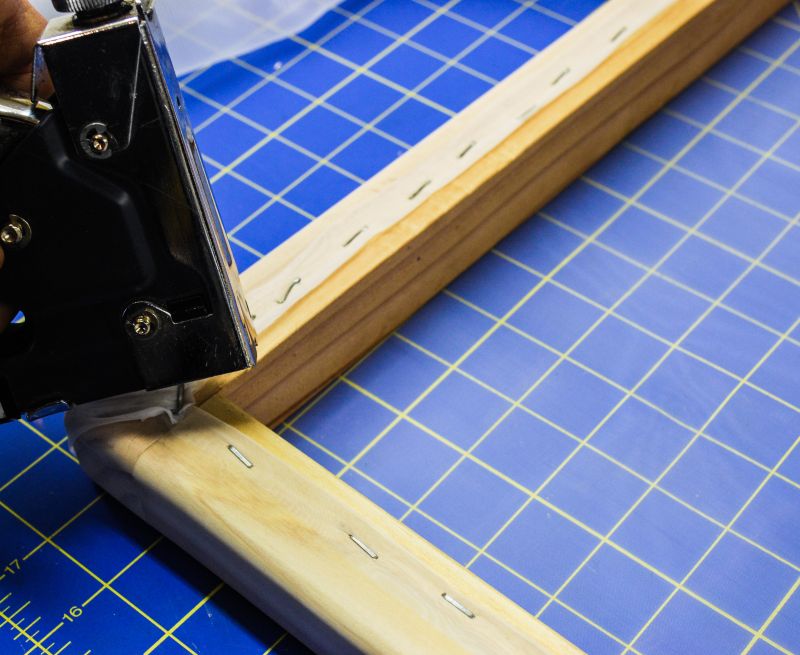
 Step 8
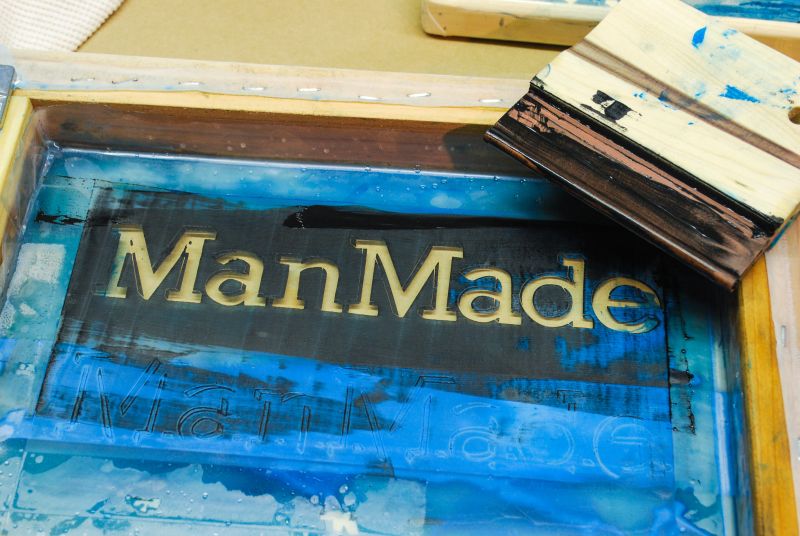
 Step 9


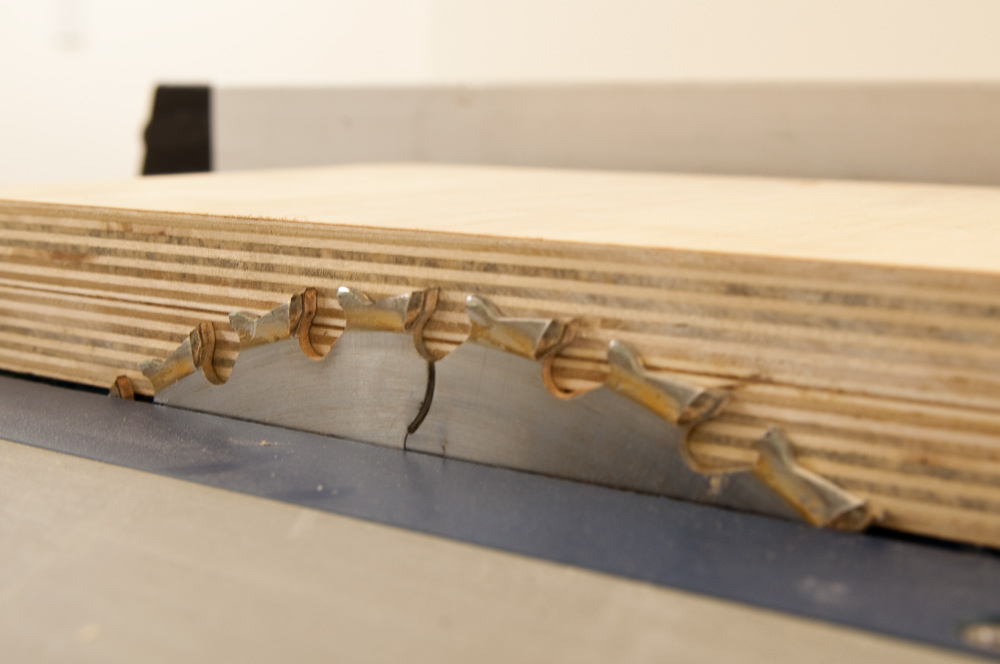
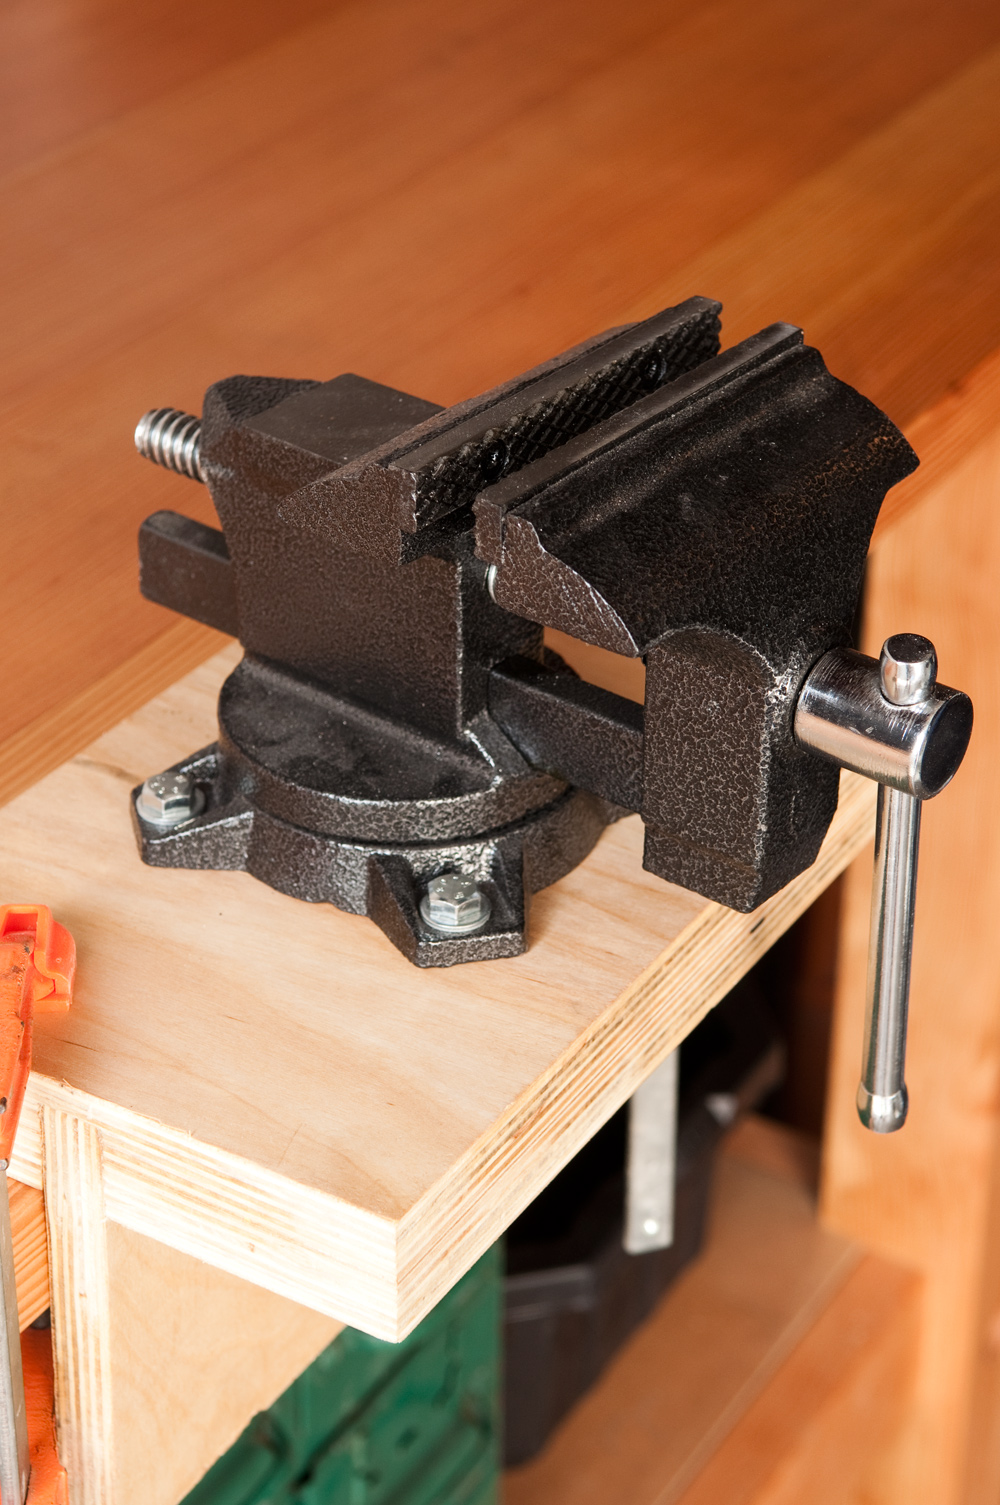
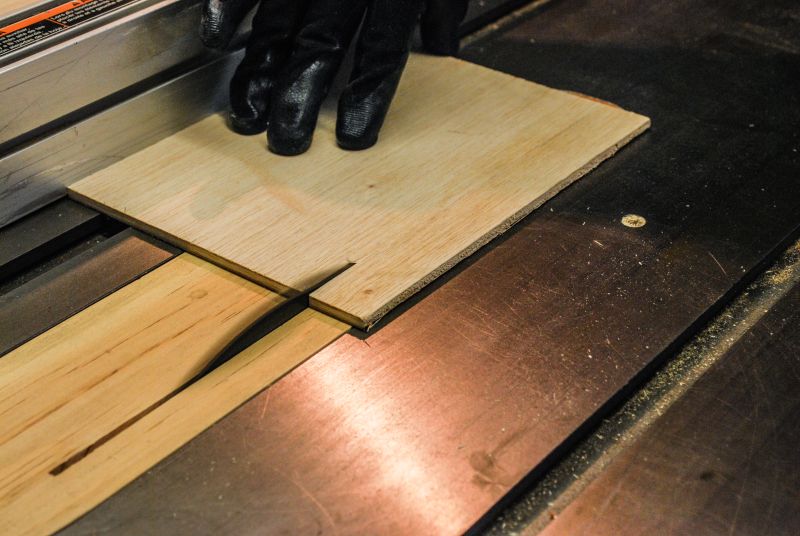
 It's time to actually build something for the shop upgrade. First up, we take a look at how to build wall cabinets from scratch (sheet goods at least).
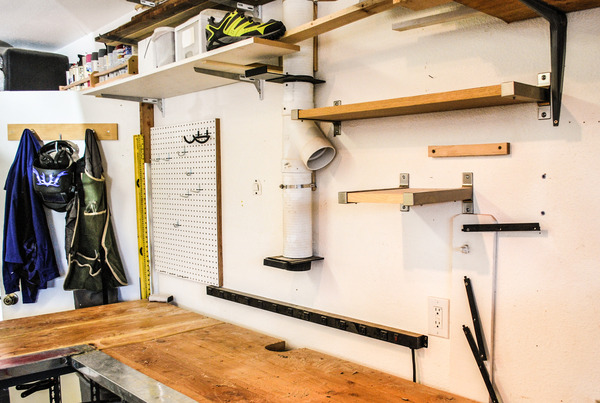
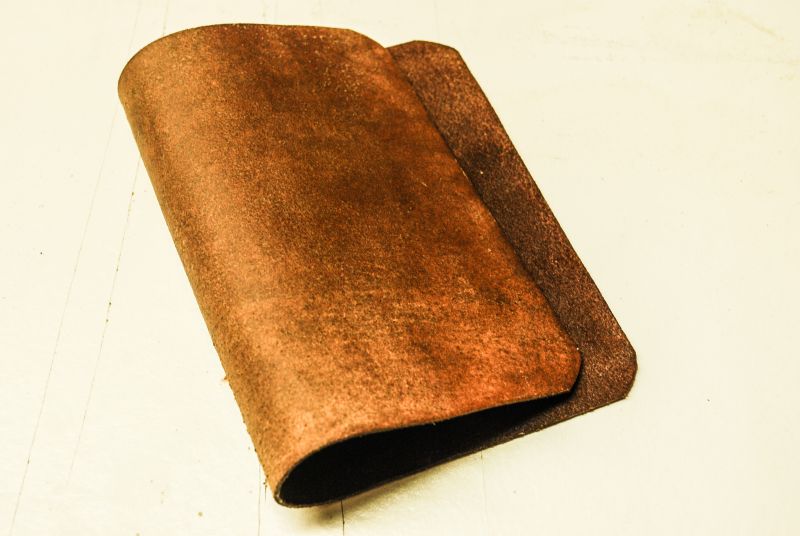
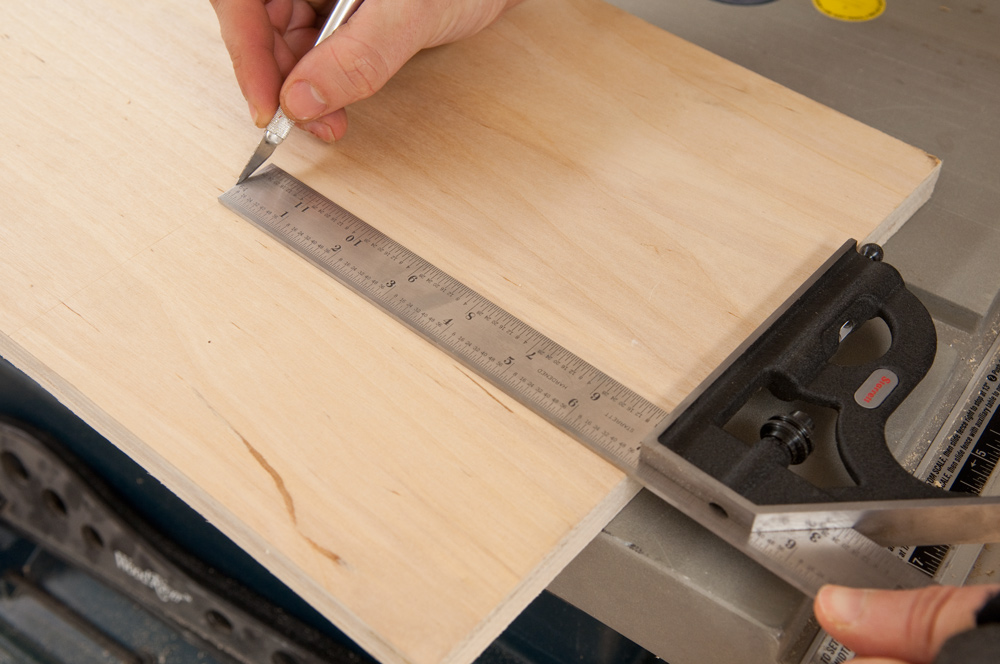
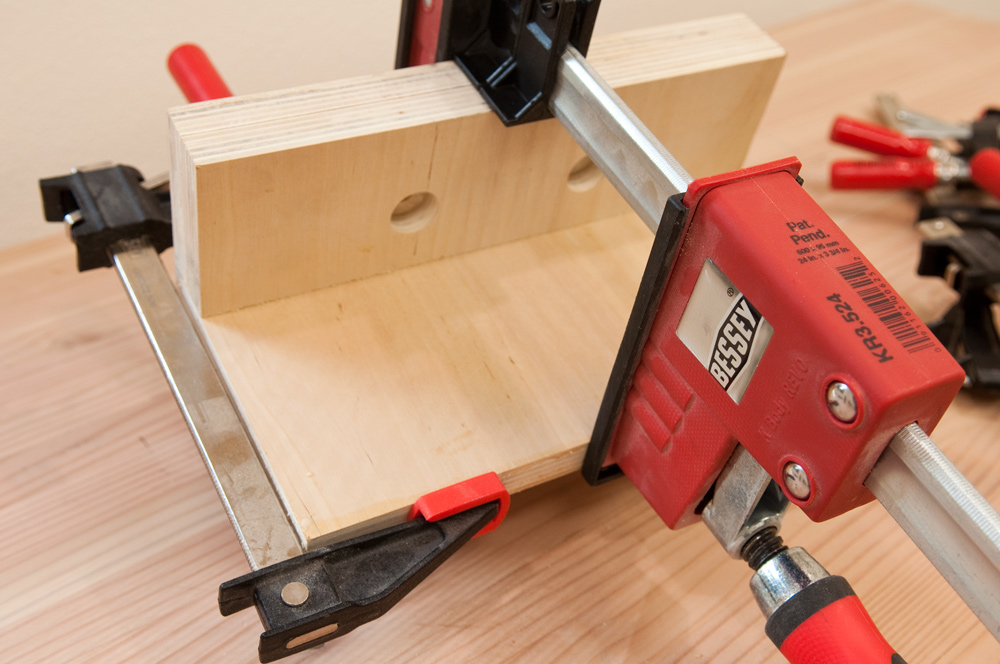
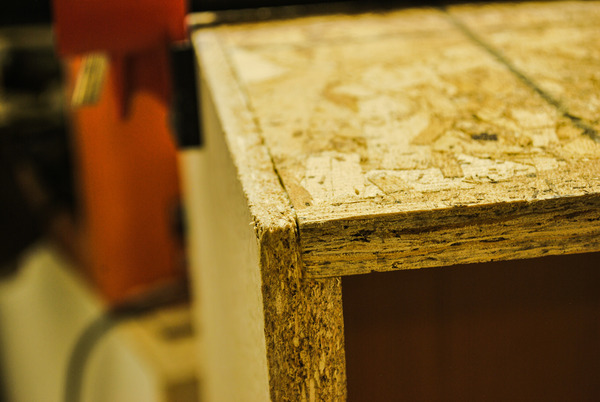
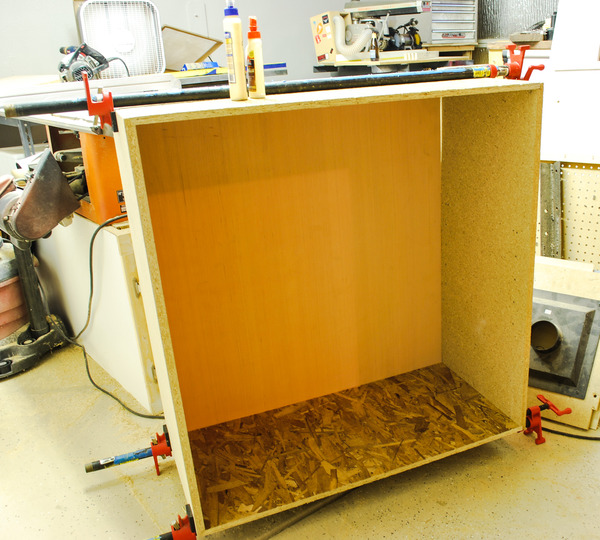
 The clean slate of a freshly painted wall was the perfect background to build my three wall cabinets.
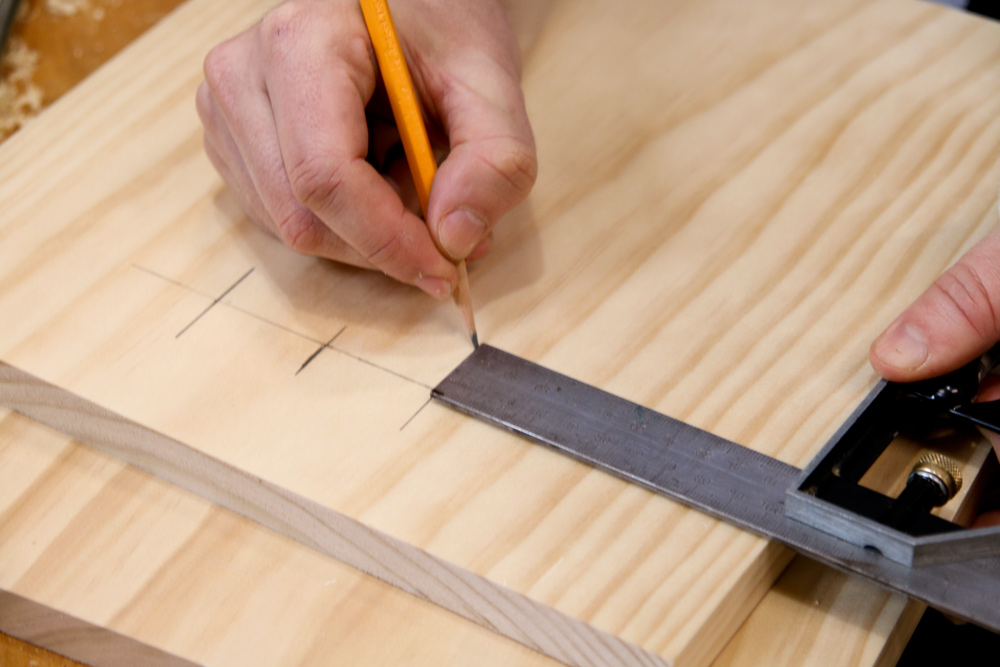
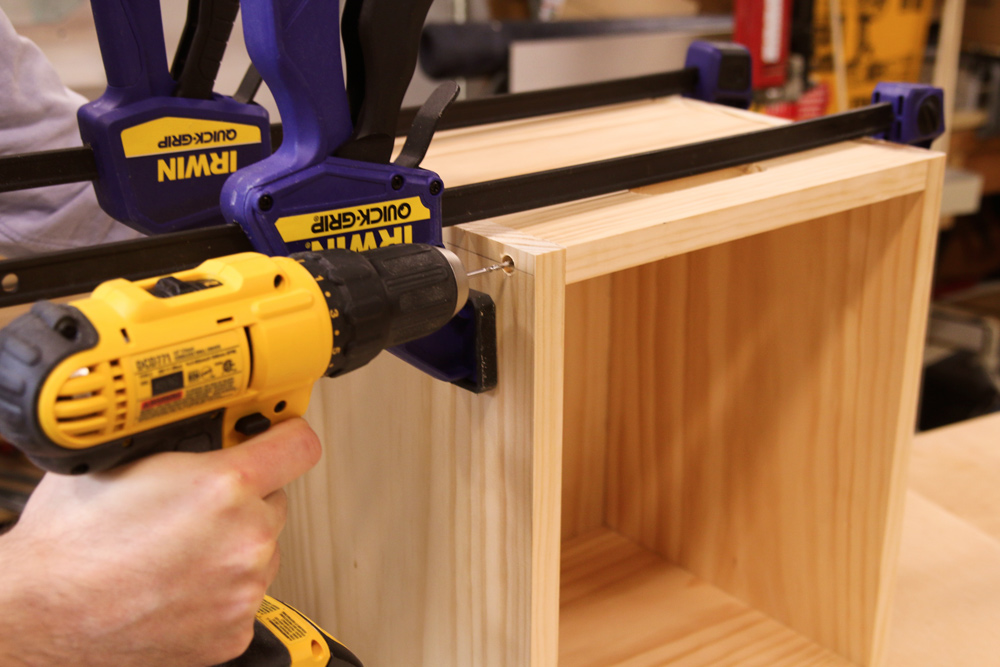
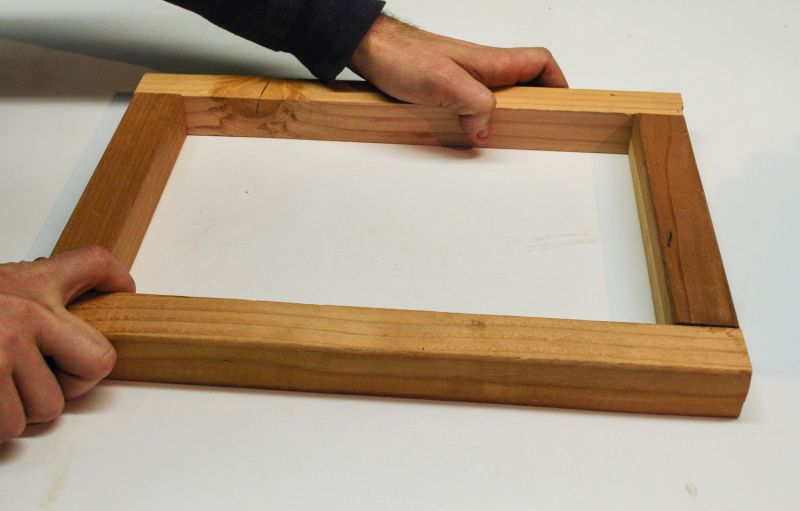
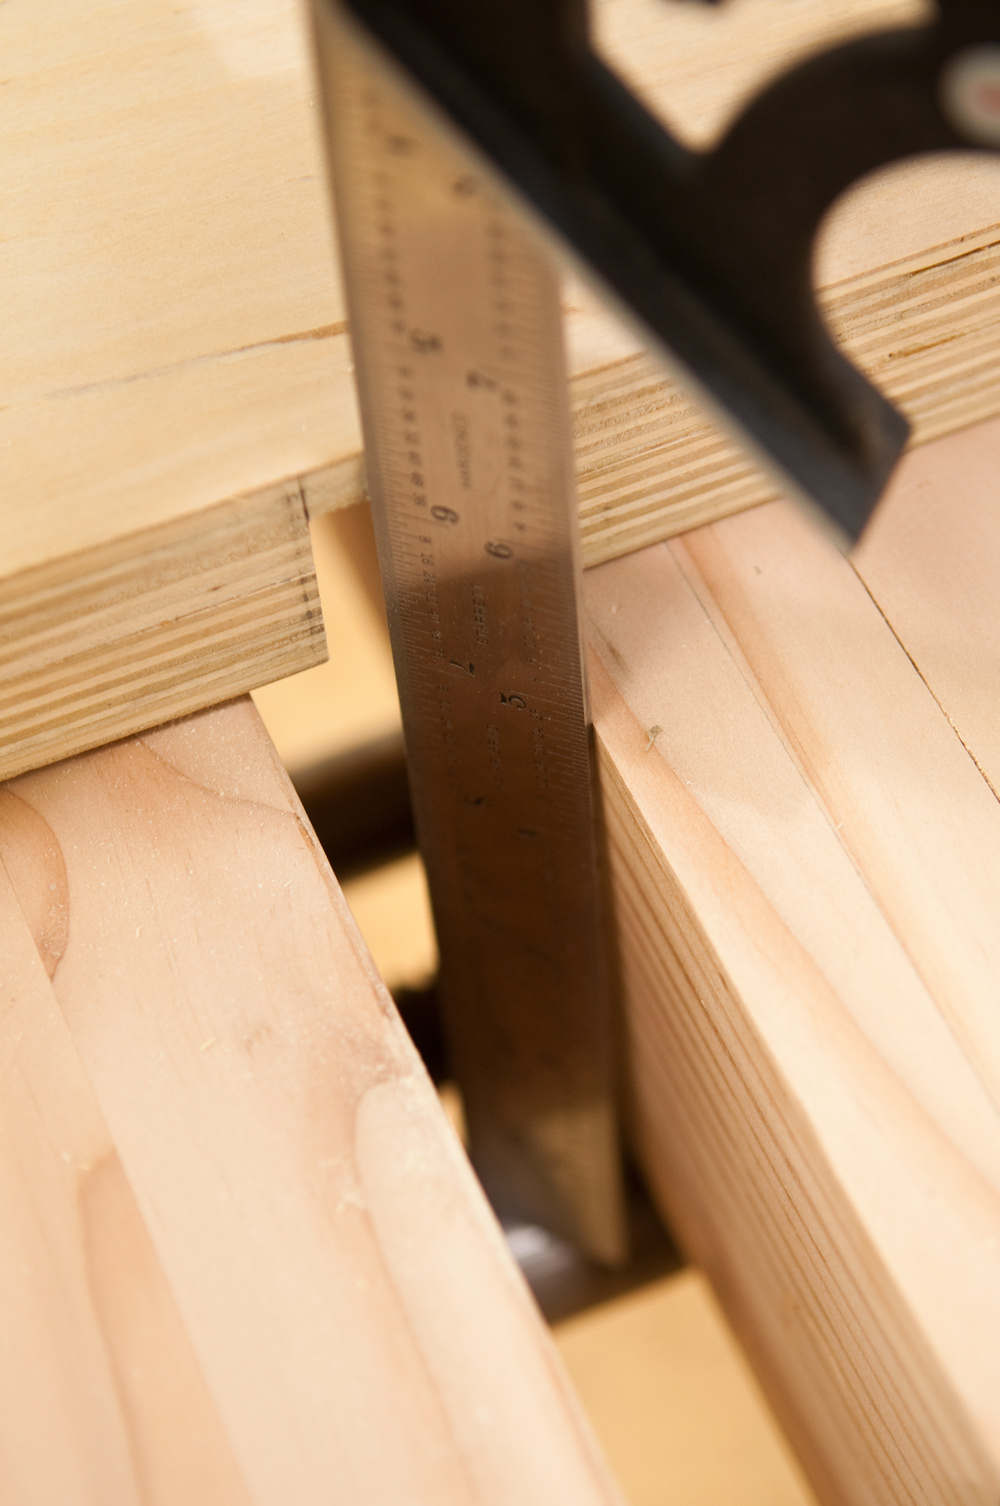
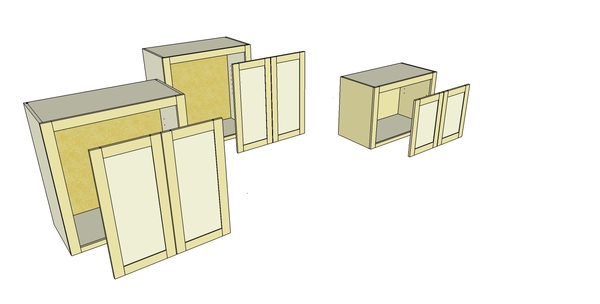
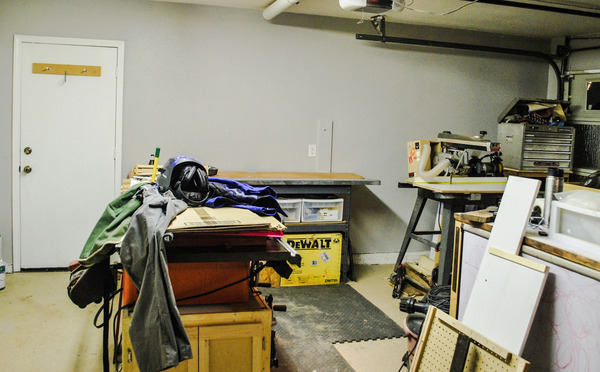 I built my cabinets in three distinct pieces: The carcass, the face frame, and the doors.
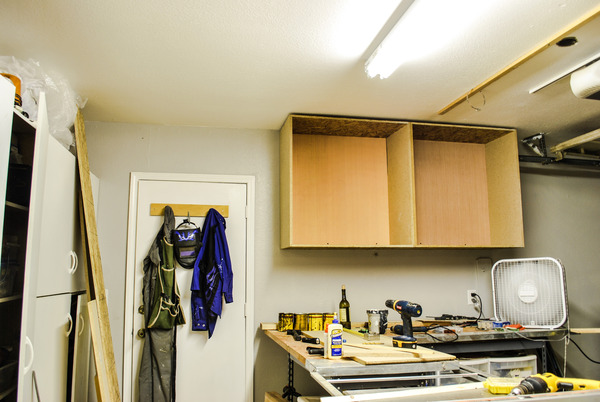
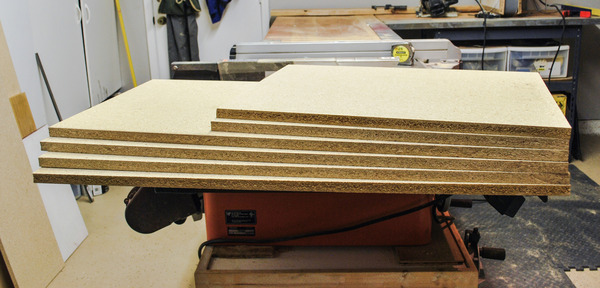
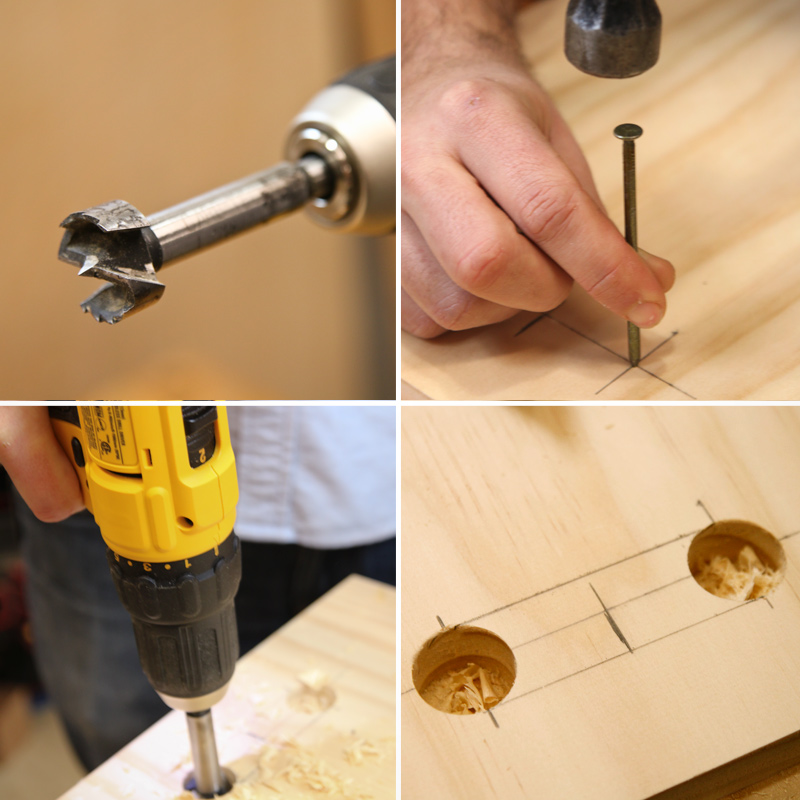
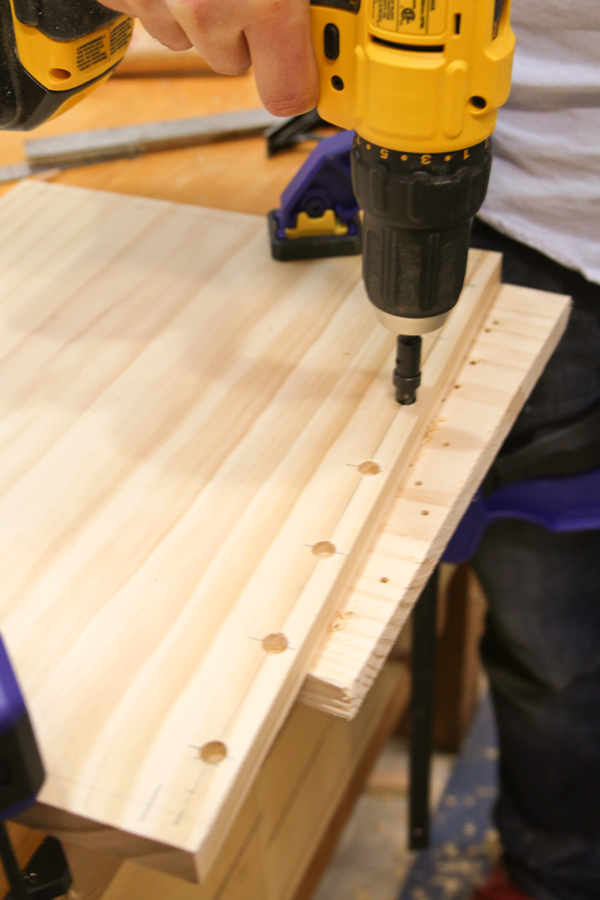
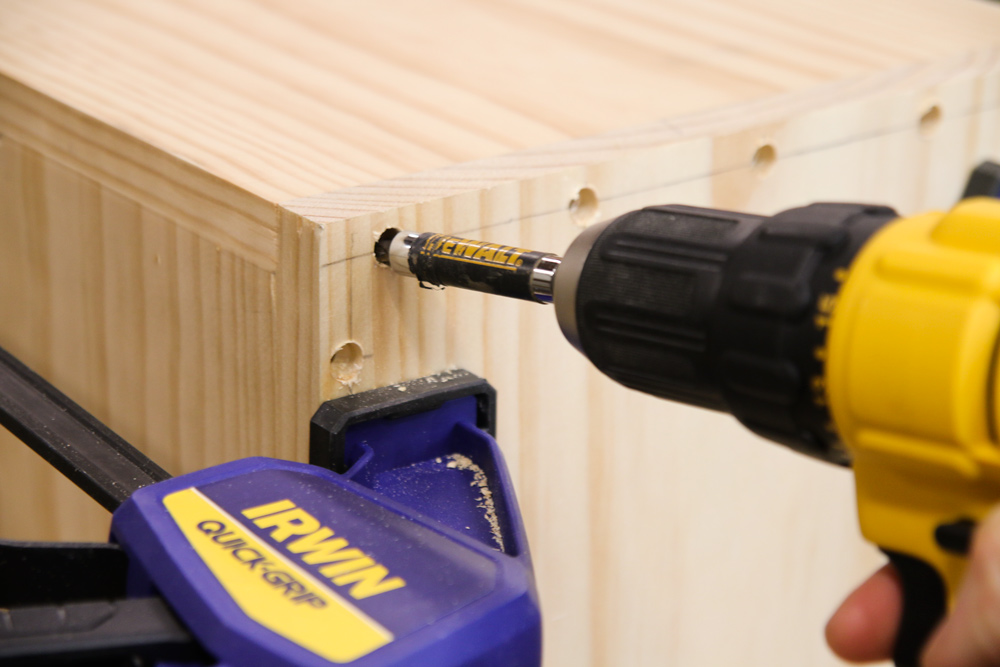
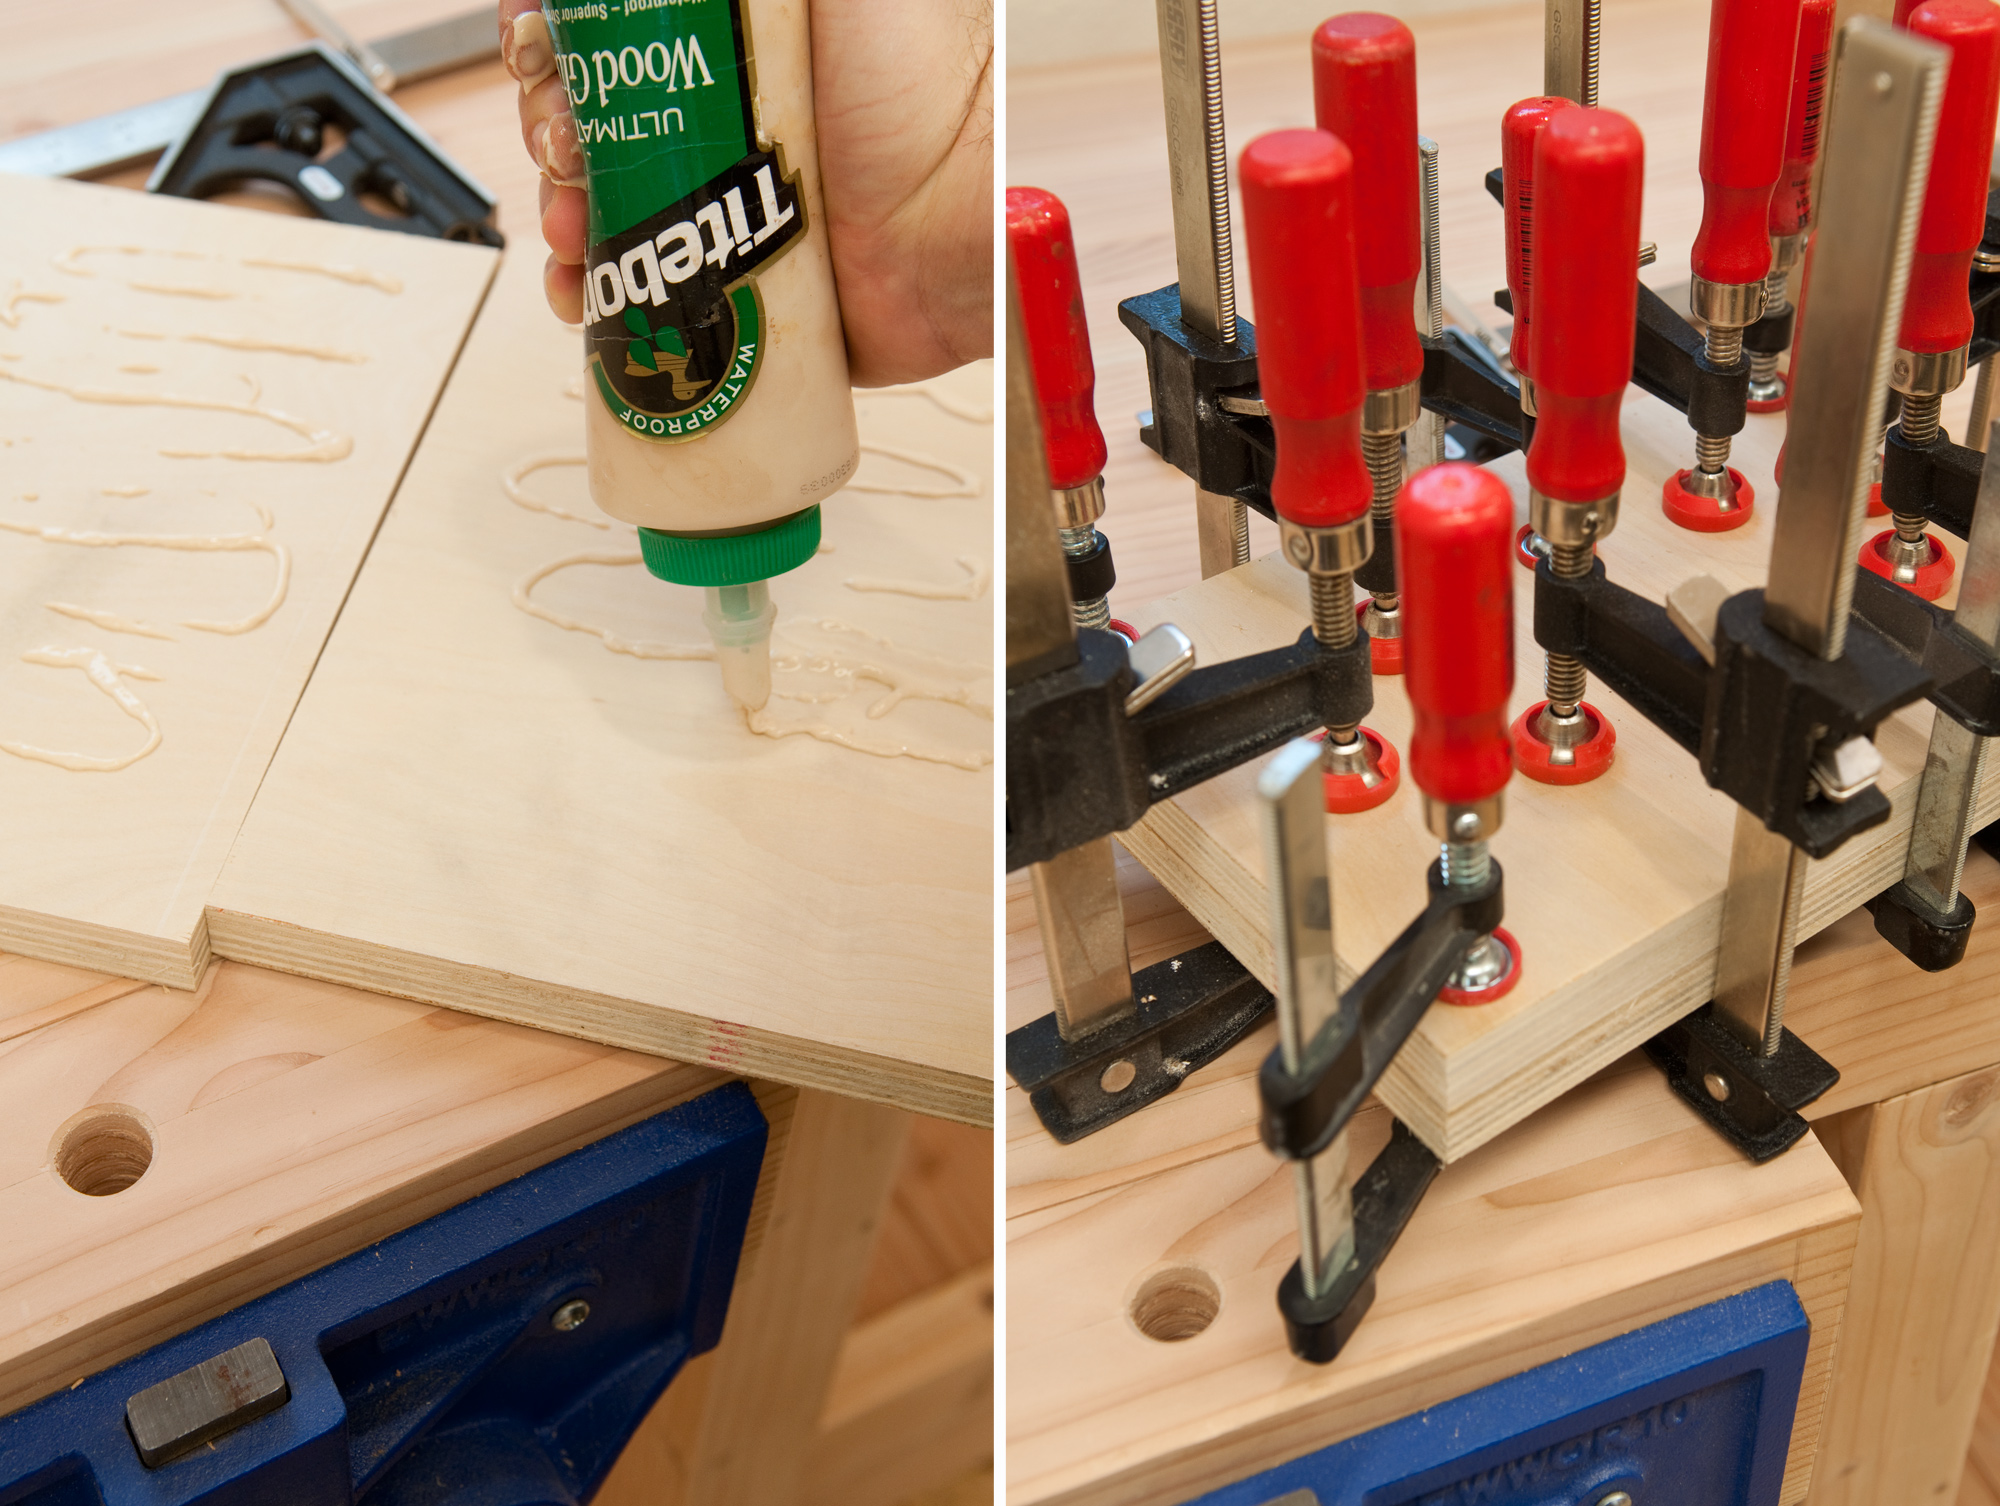
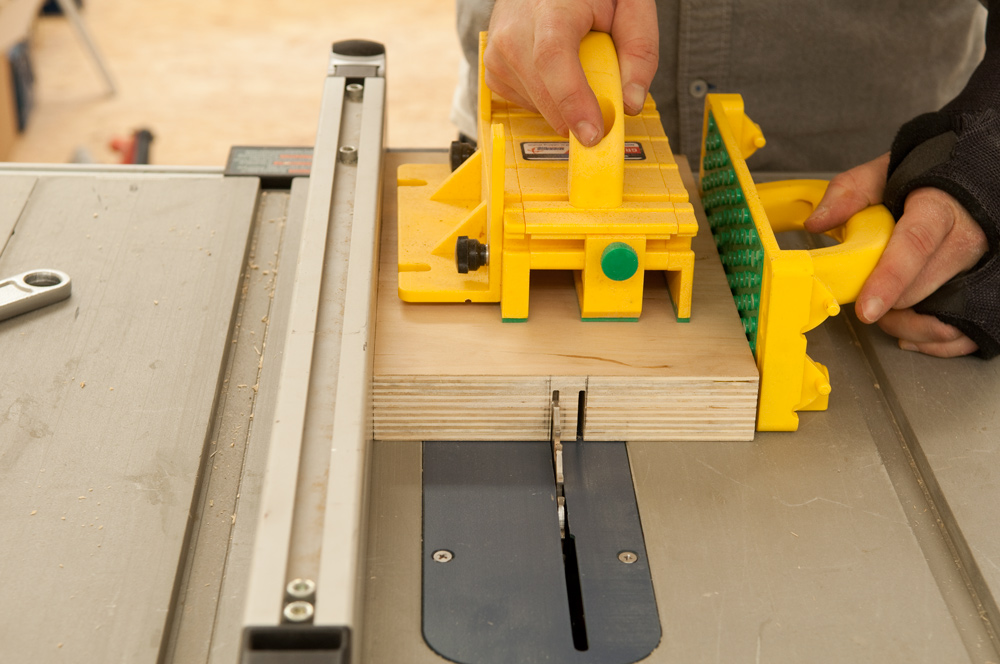
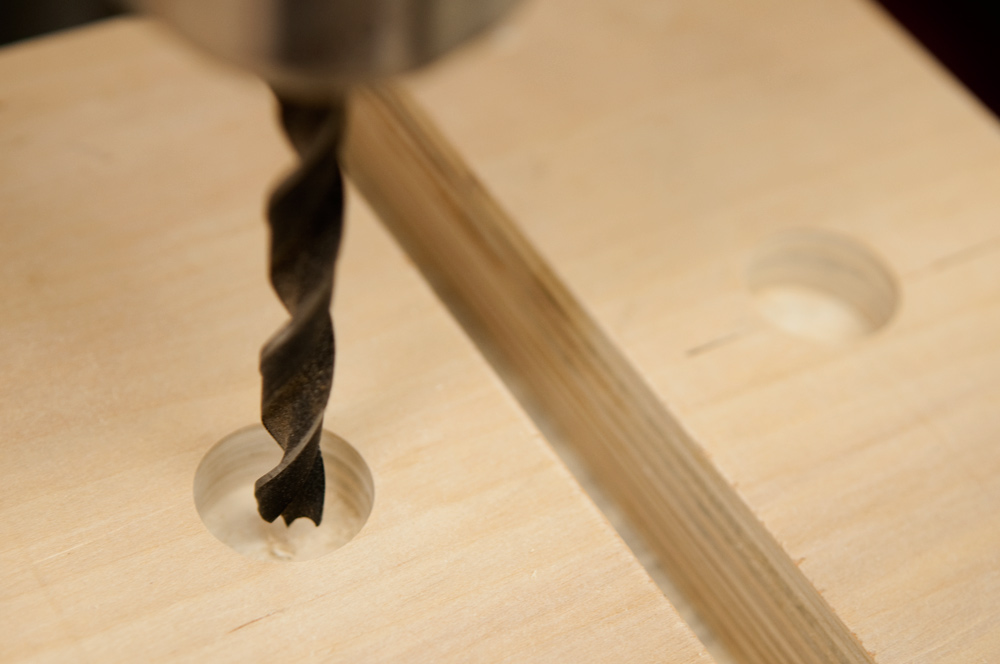
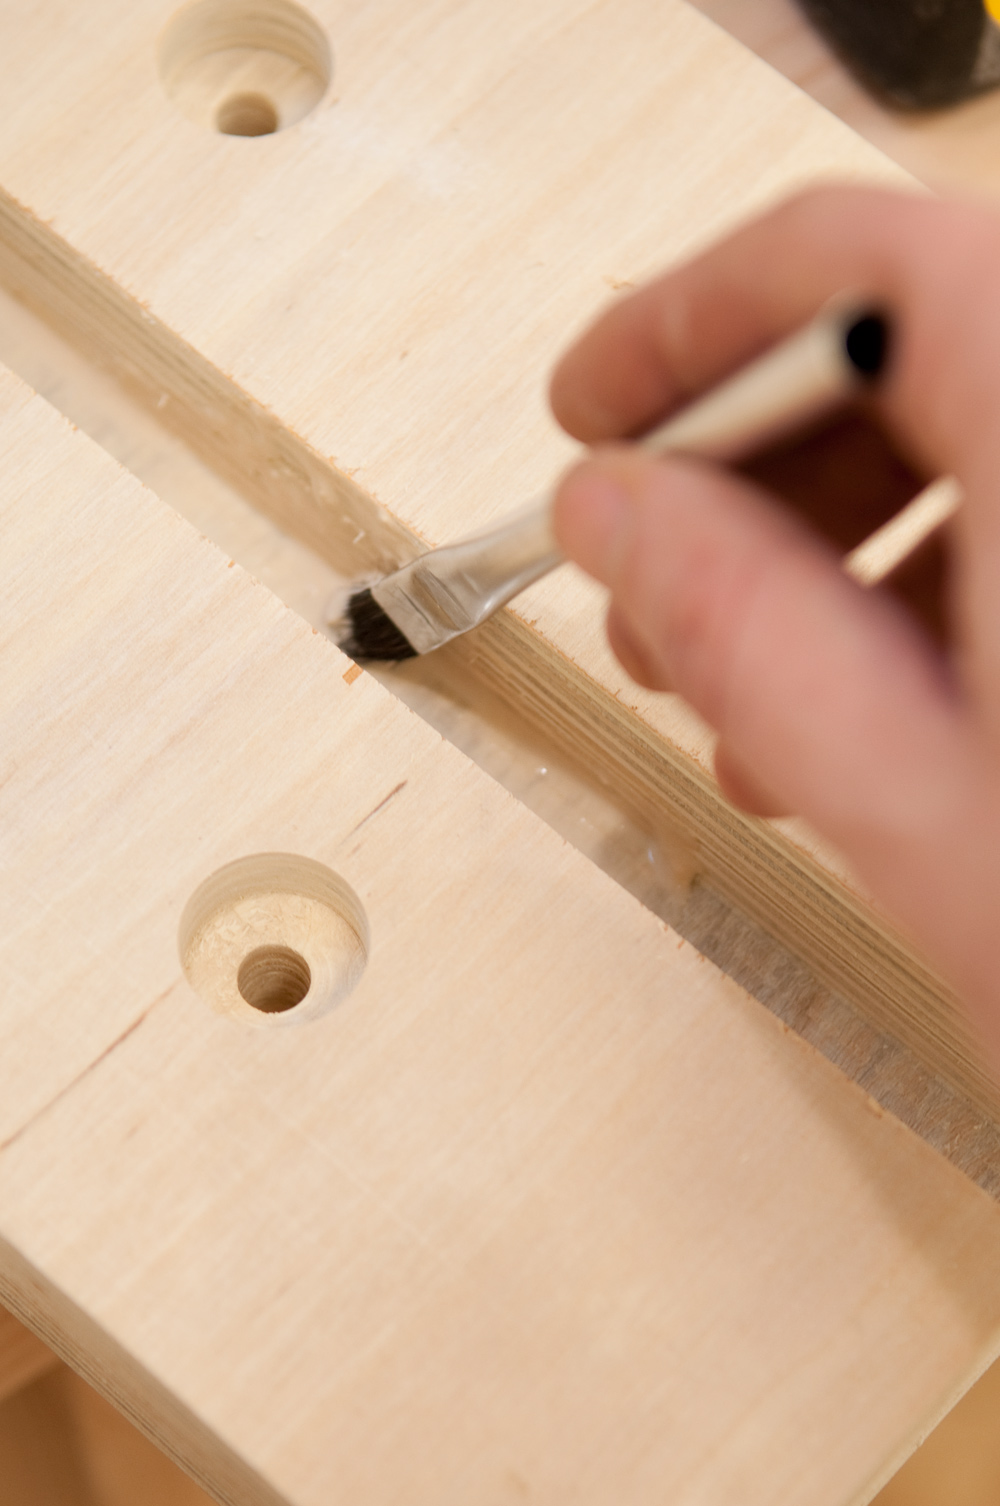
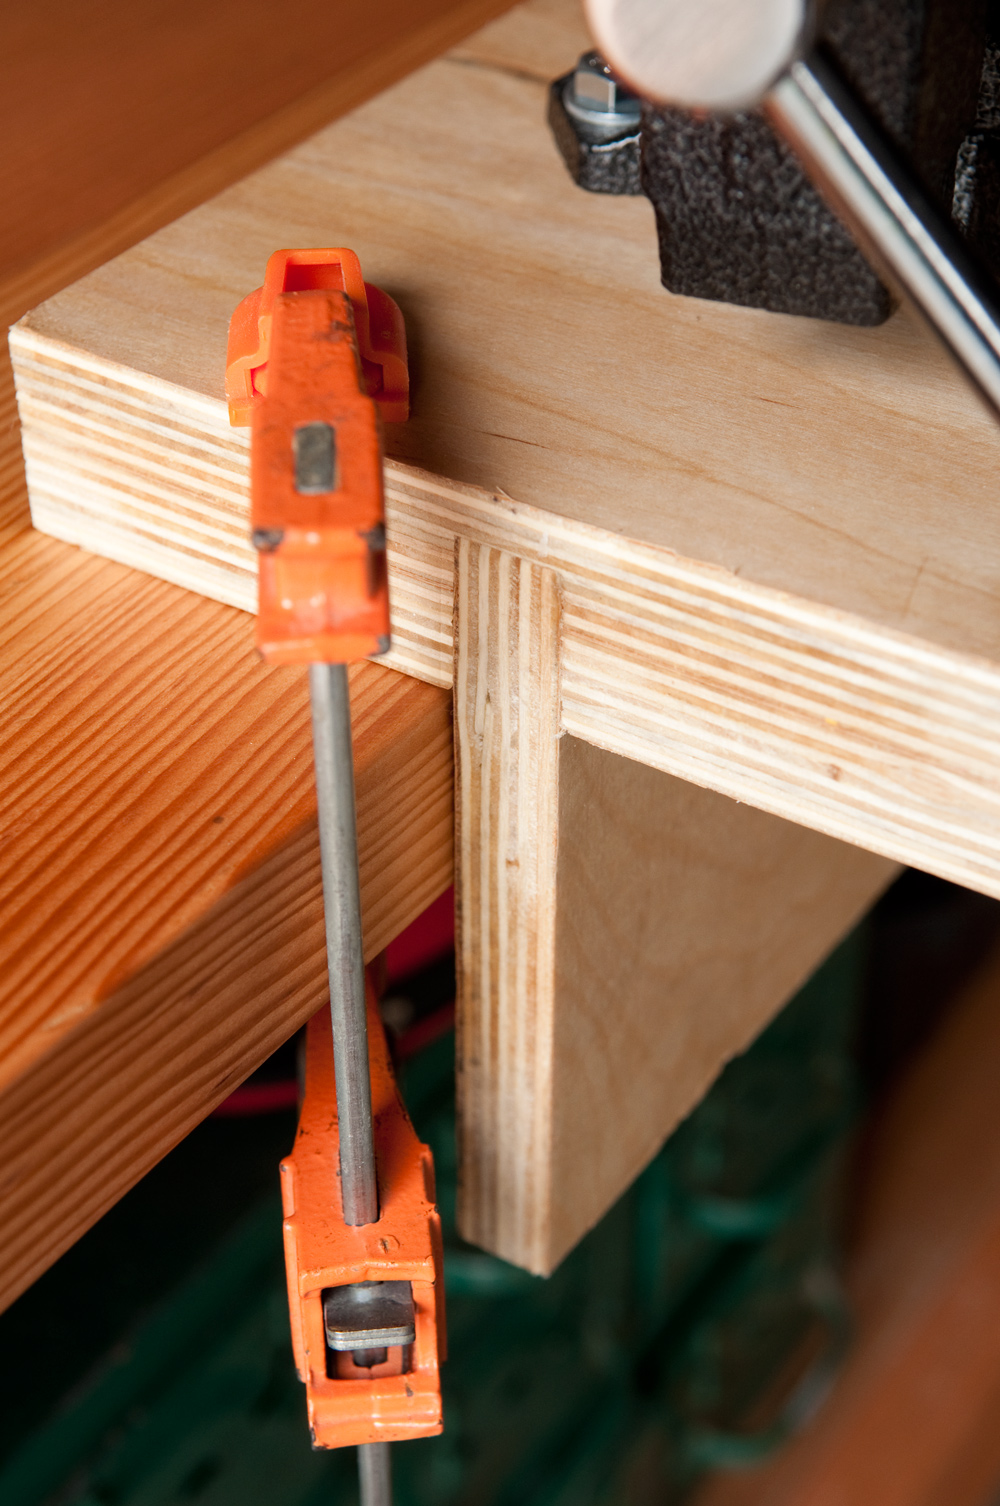
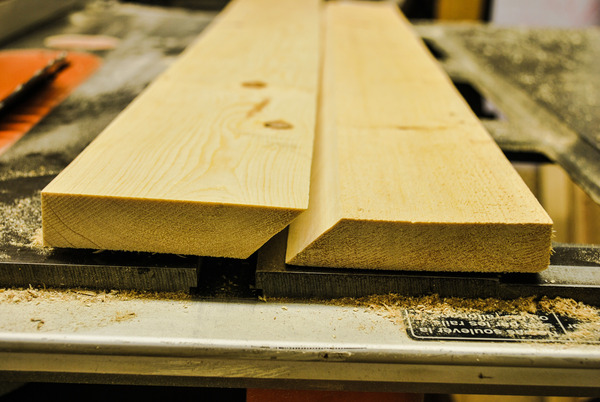
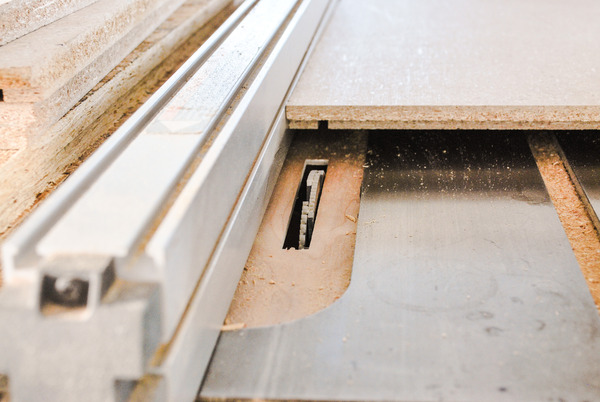 I also cut a 1/4” groove ¾” from the back edge on all pieces to account for the plywood back panel and to give room for the mounting boards to integrate on the top and bottom.
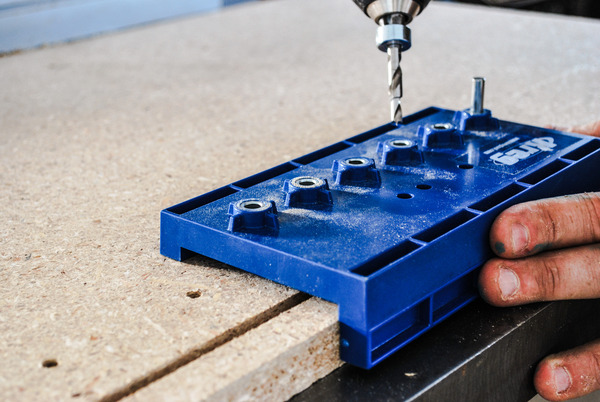
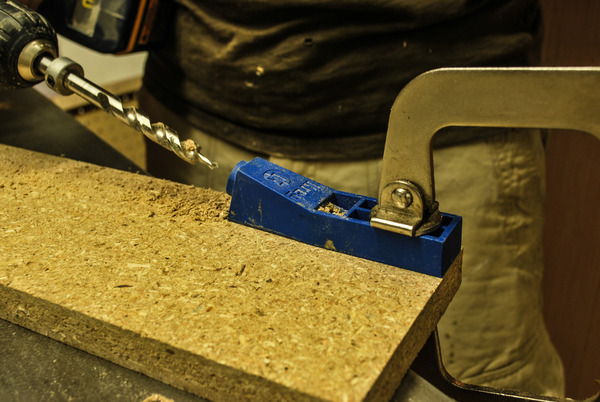
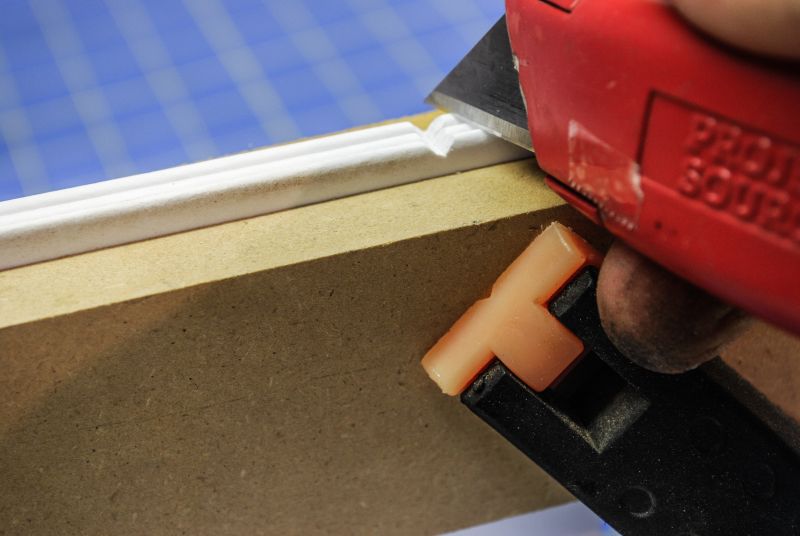
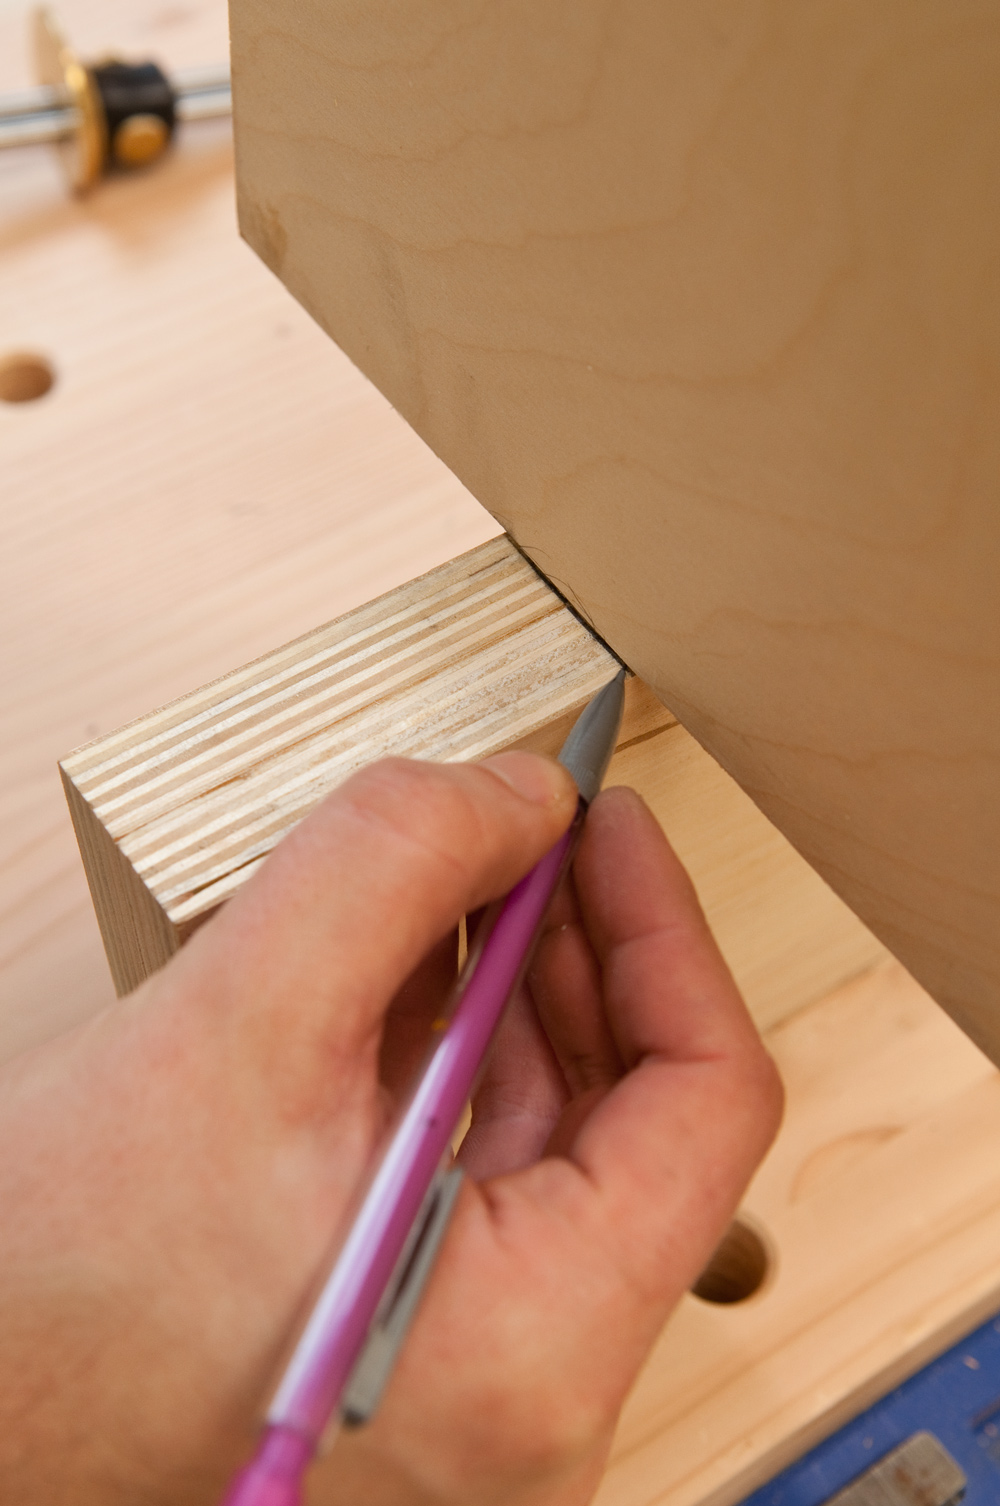
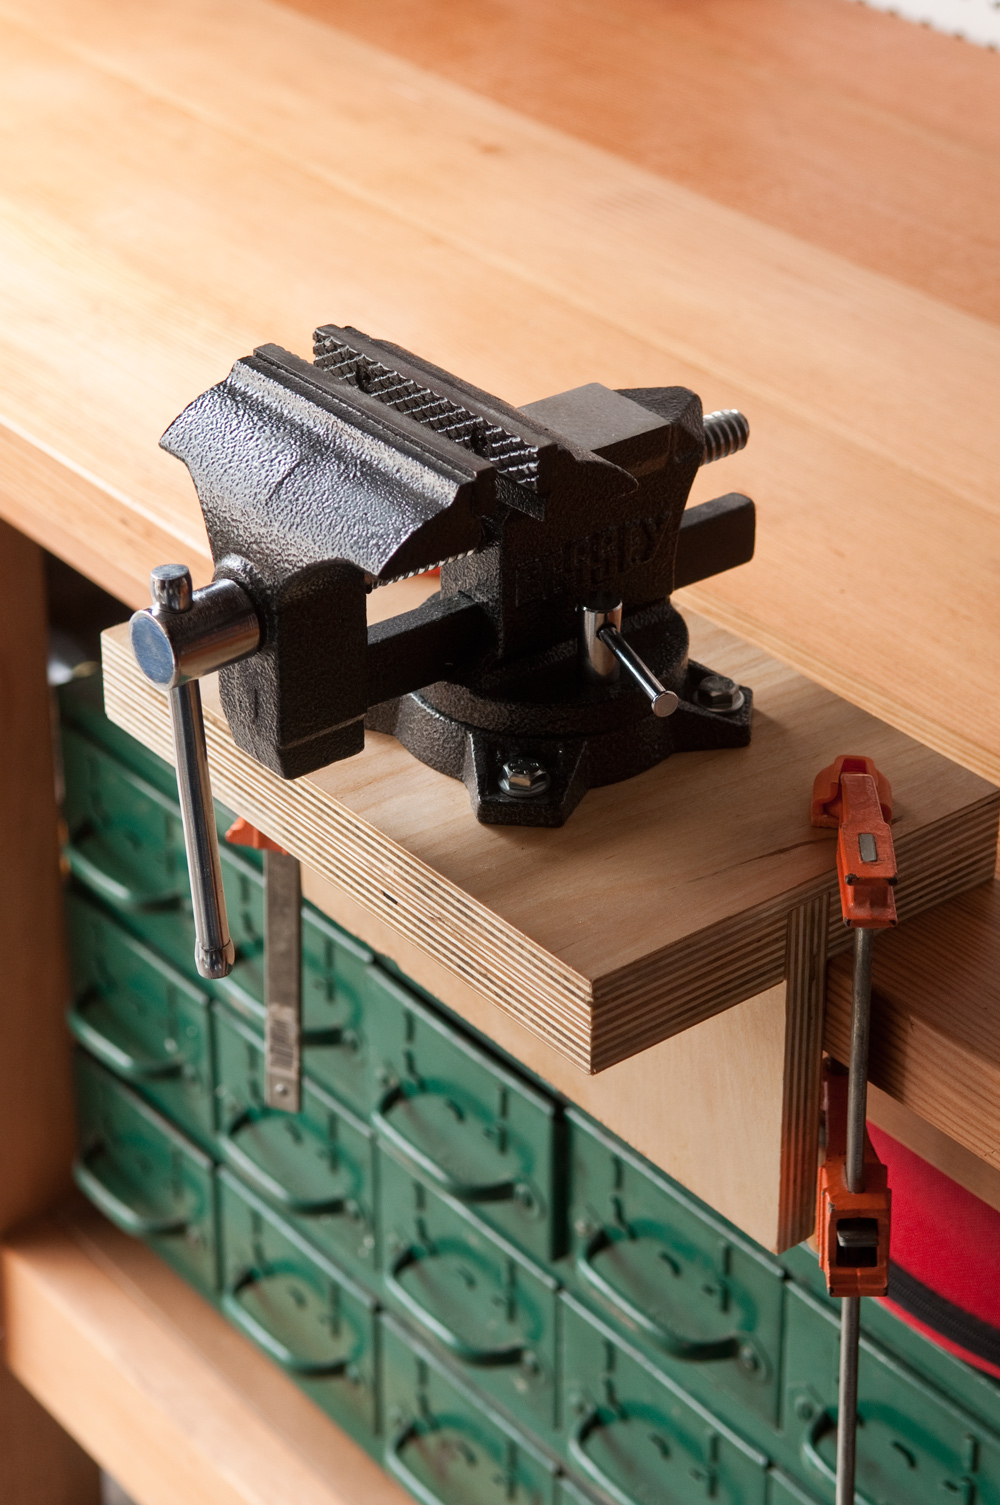
 You can drill mounting screws directly through the back panel into the wall studs, but I prefer to use the French cleat method. This is a great technique for a few reasons: first, it’s much easier to line up the French cleat level and at the right height than it is to get the cabinet in place and drill through the panel into the stud. Second, there is some side-to-side play with a French cleat so you can snug up the cabinets to each other. Lastly, it’s a strong joint that holds well but can be easily removed in the future if things change.
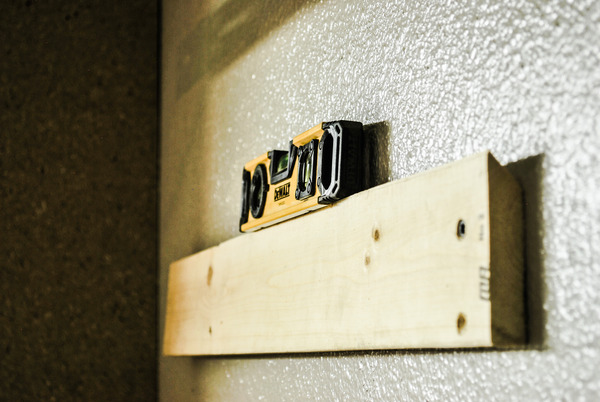
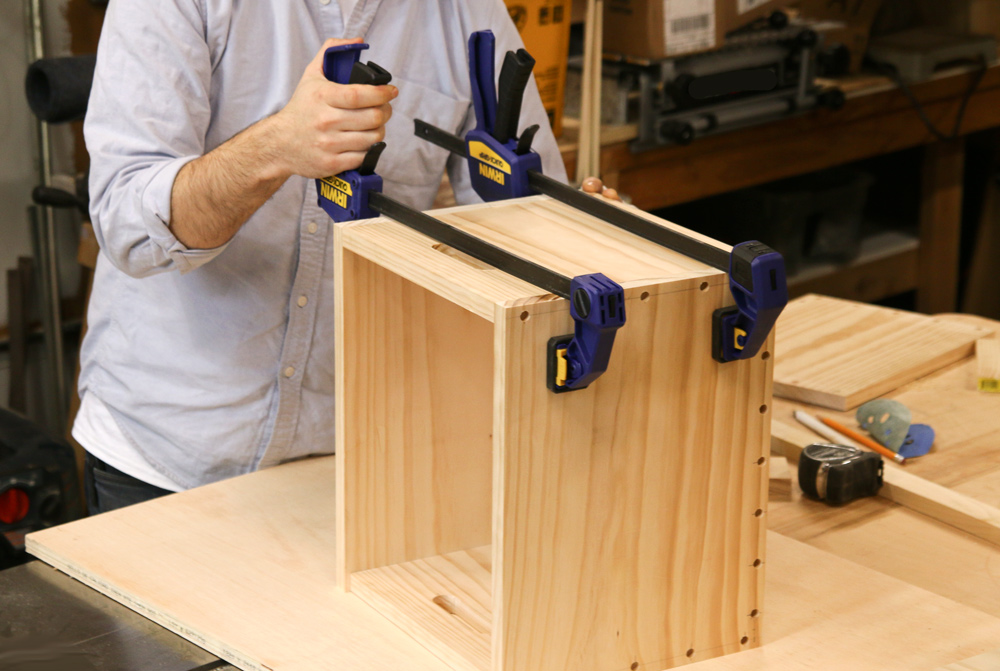
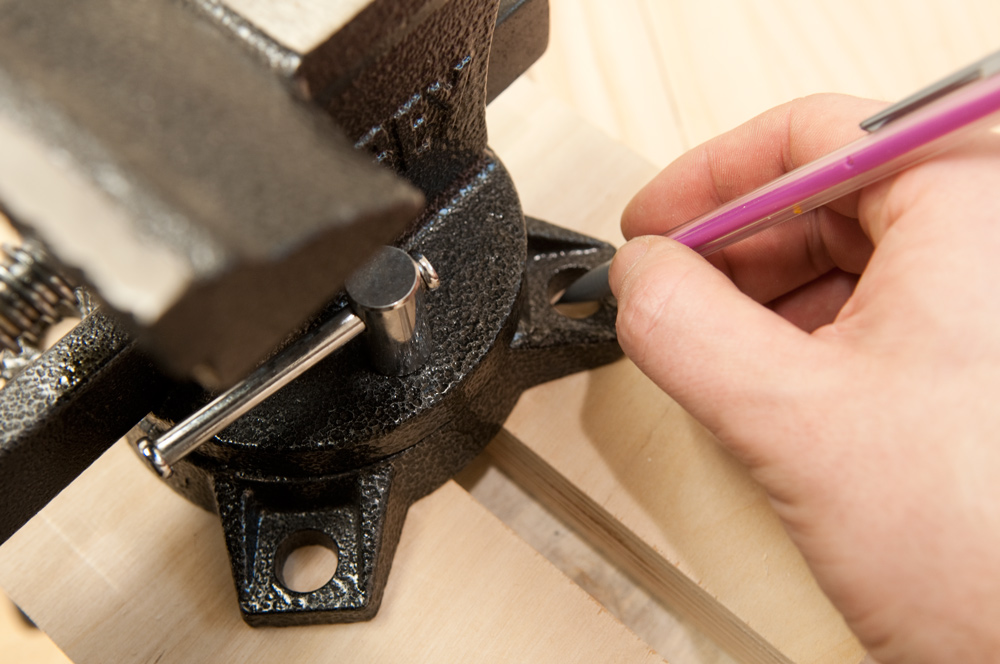
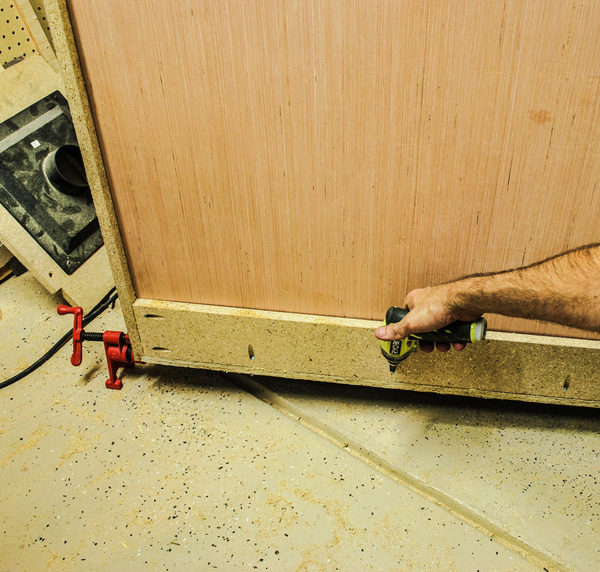
 This piece was mounted with the angle facing the wall leveled with 4 long screws through the studs for support. Once it is installed, it’s a simple matter to put the cabinet on the wall and lower onto the cleat for a sturdy mount. I add two screws through the bottom mounting board along the bottom edge to keep it secured to the wall.
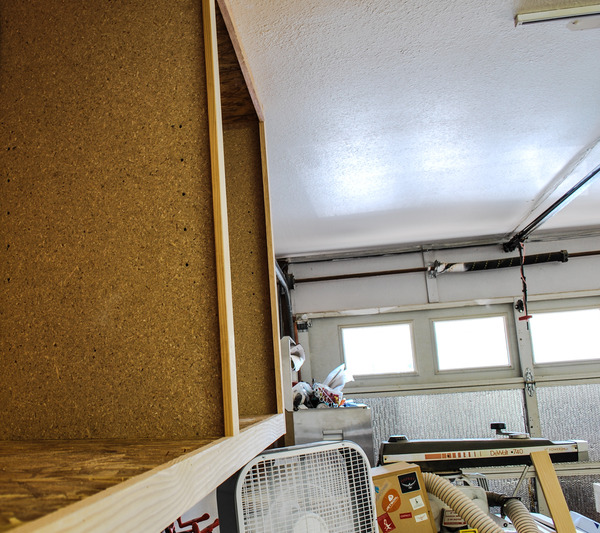


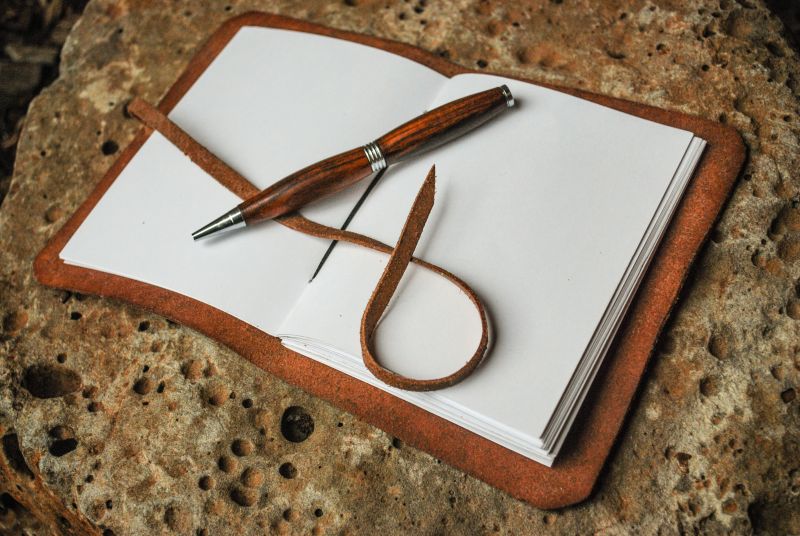
 I've wanted to build a boat ever since I sunk my small dingy on the Trinity Lake as a kid. Once I have the space, I will fashion a sea-worthy vessel and take it out to brave the ocean, or at least a sizeable pond. The exceptional craftsmen over at
  Once I have the time, I will build an 18ft stitch and glue sea kayak. This boat has been on my mind for years. As an avid water rat, slicing through the water in a svelt kayak is one of my favorite pastimes, doing it in a custom handmade boat would be the closest to Nirvana that I can imagine.